nicole carlson presets

nicole carlson presets
Hi you guys!!!
So excited to finally have my Nicole Presets launched!! I first just wanted to let you know a little bit about these presets! First of all, we have worked so hard at perfecting these presets for you guys so that they are just perfect! I use all of these presets for all of my photos on my feed with a few tweaks here and there depending on the lighting, and I am obsessed.
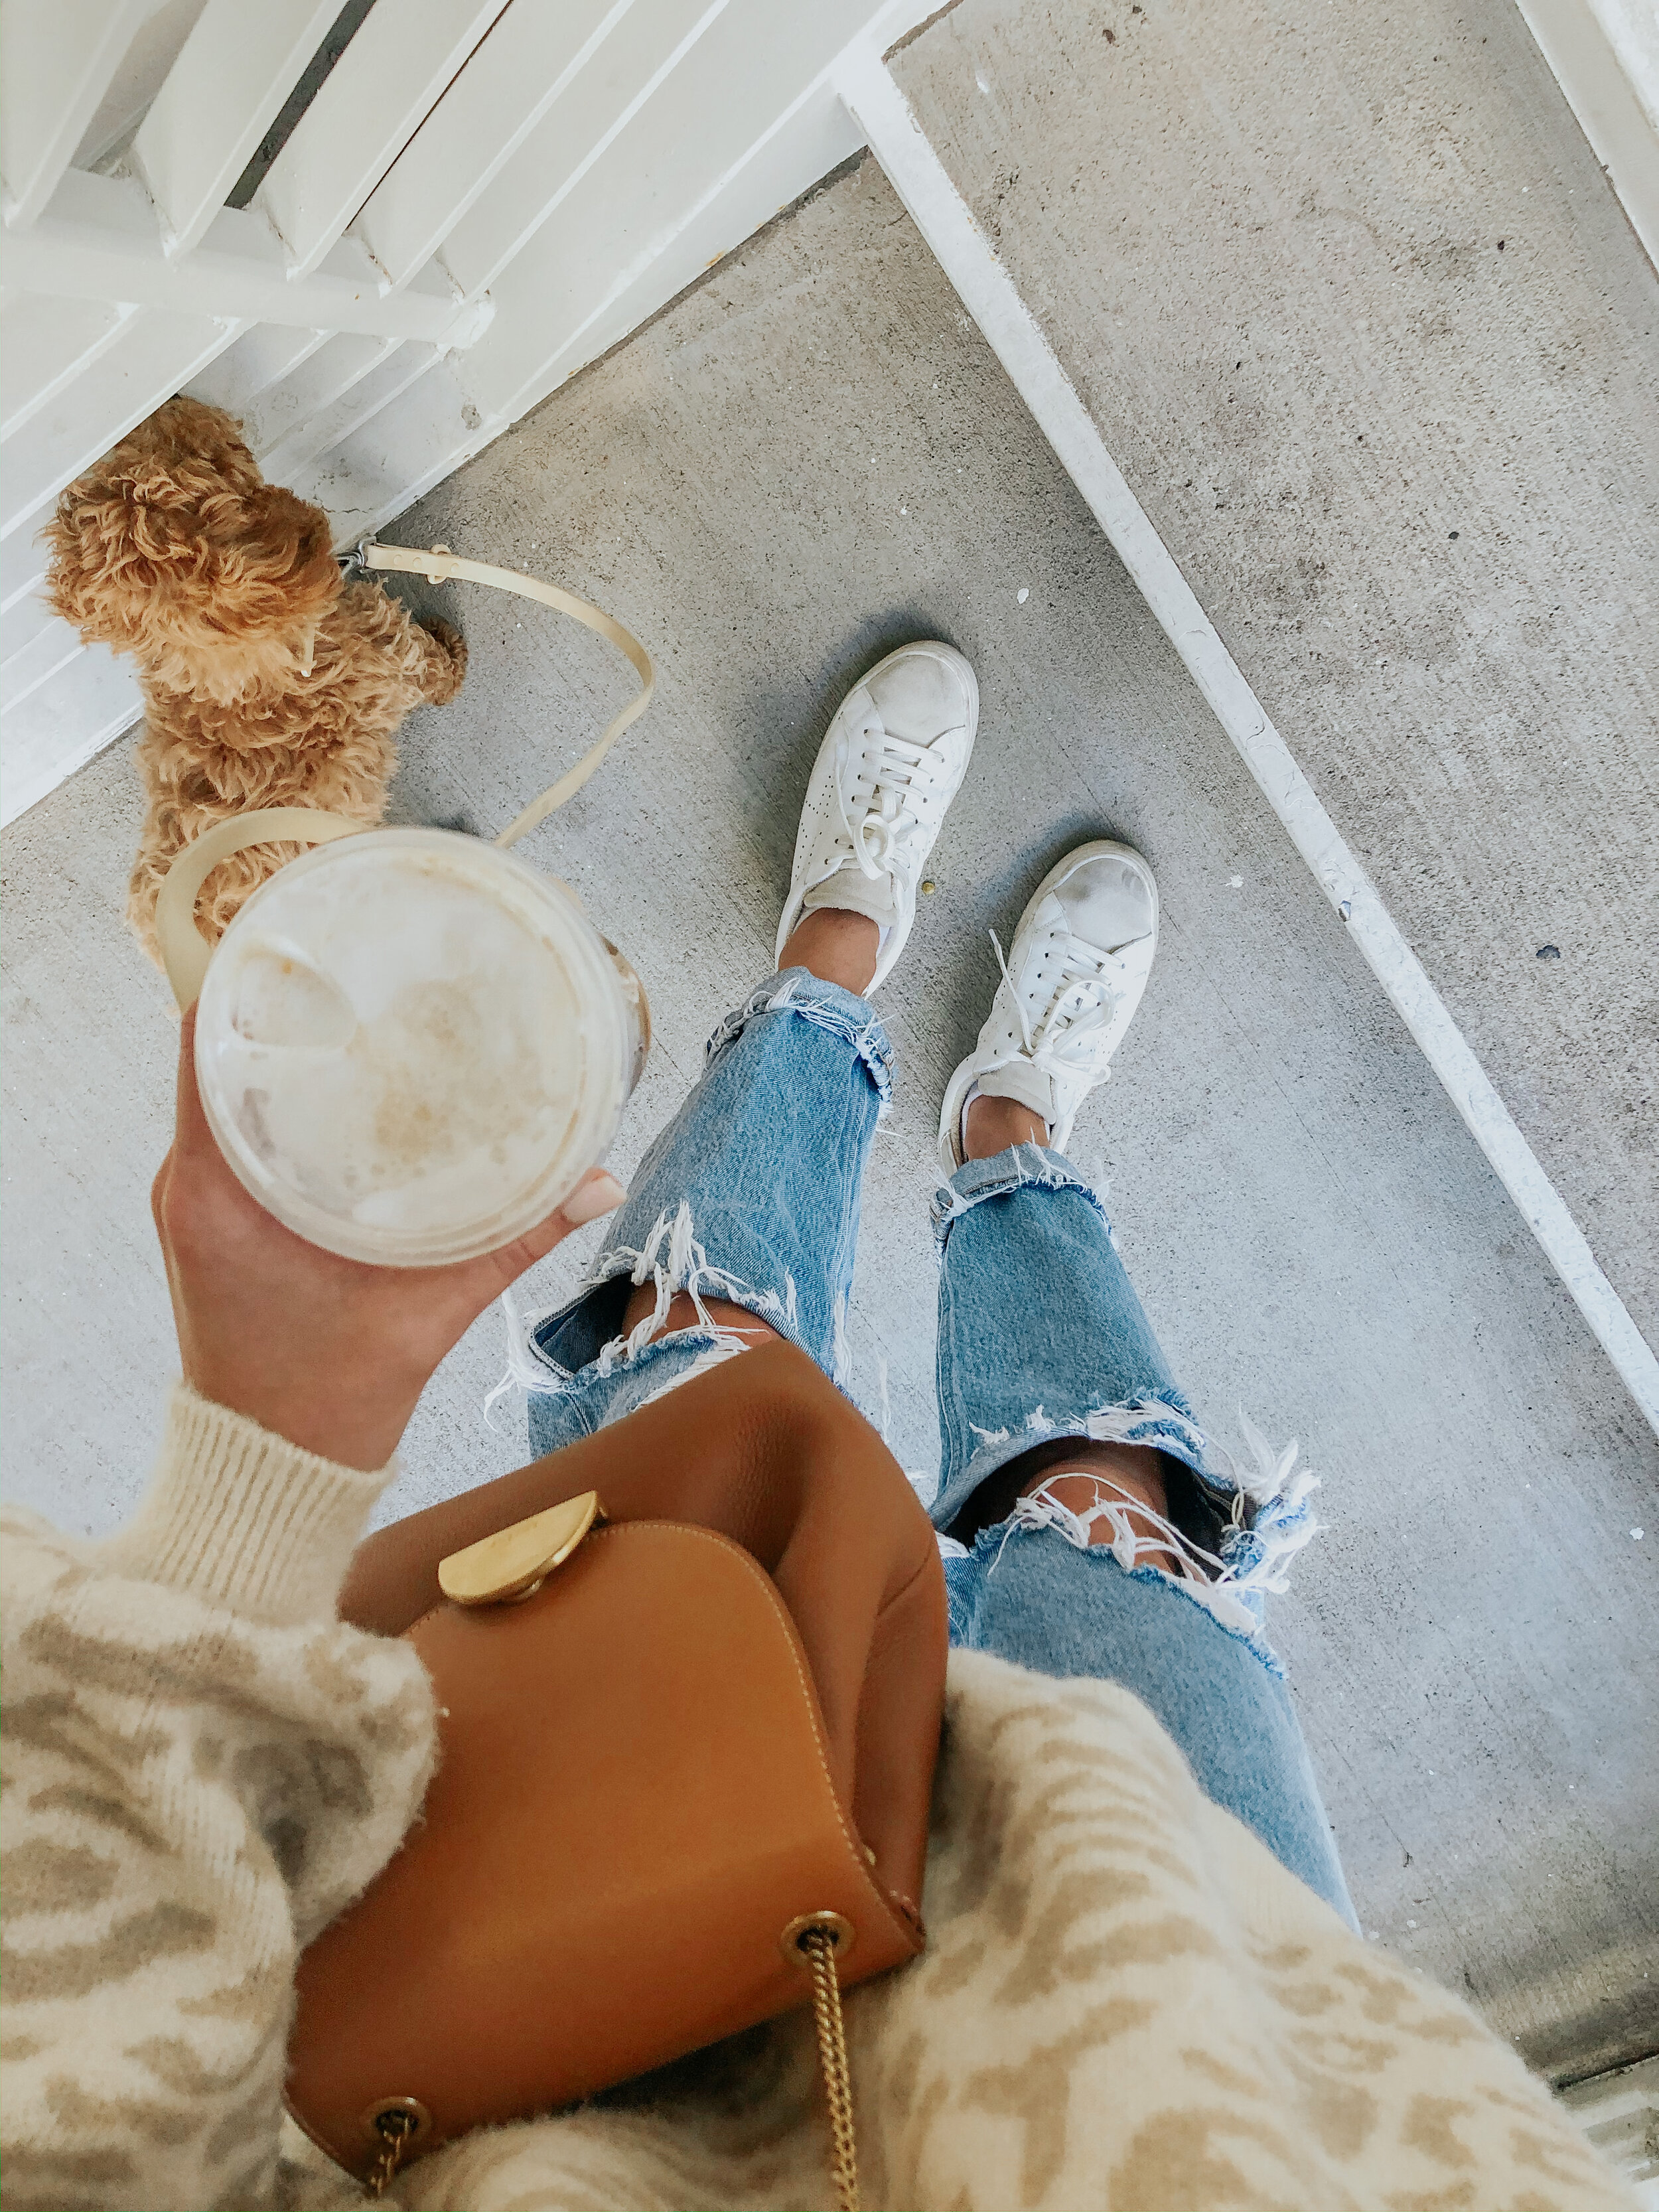
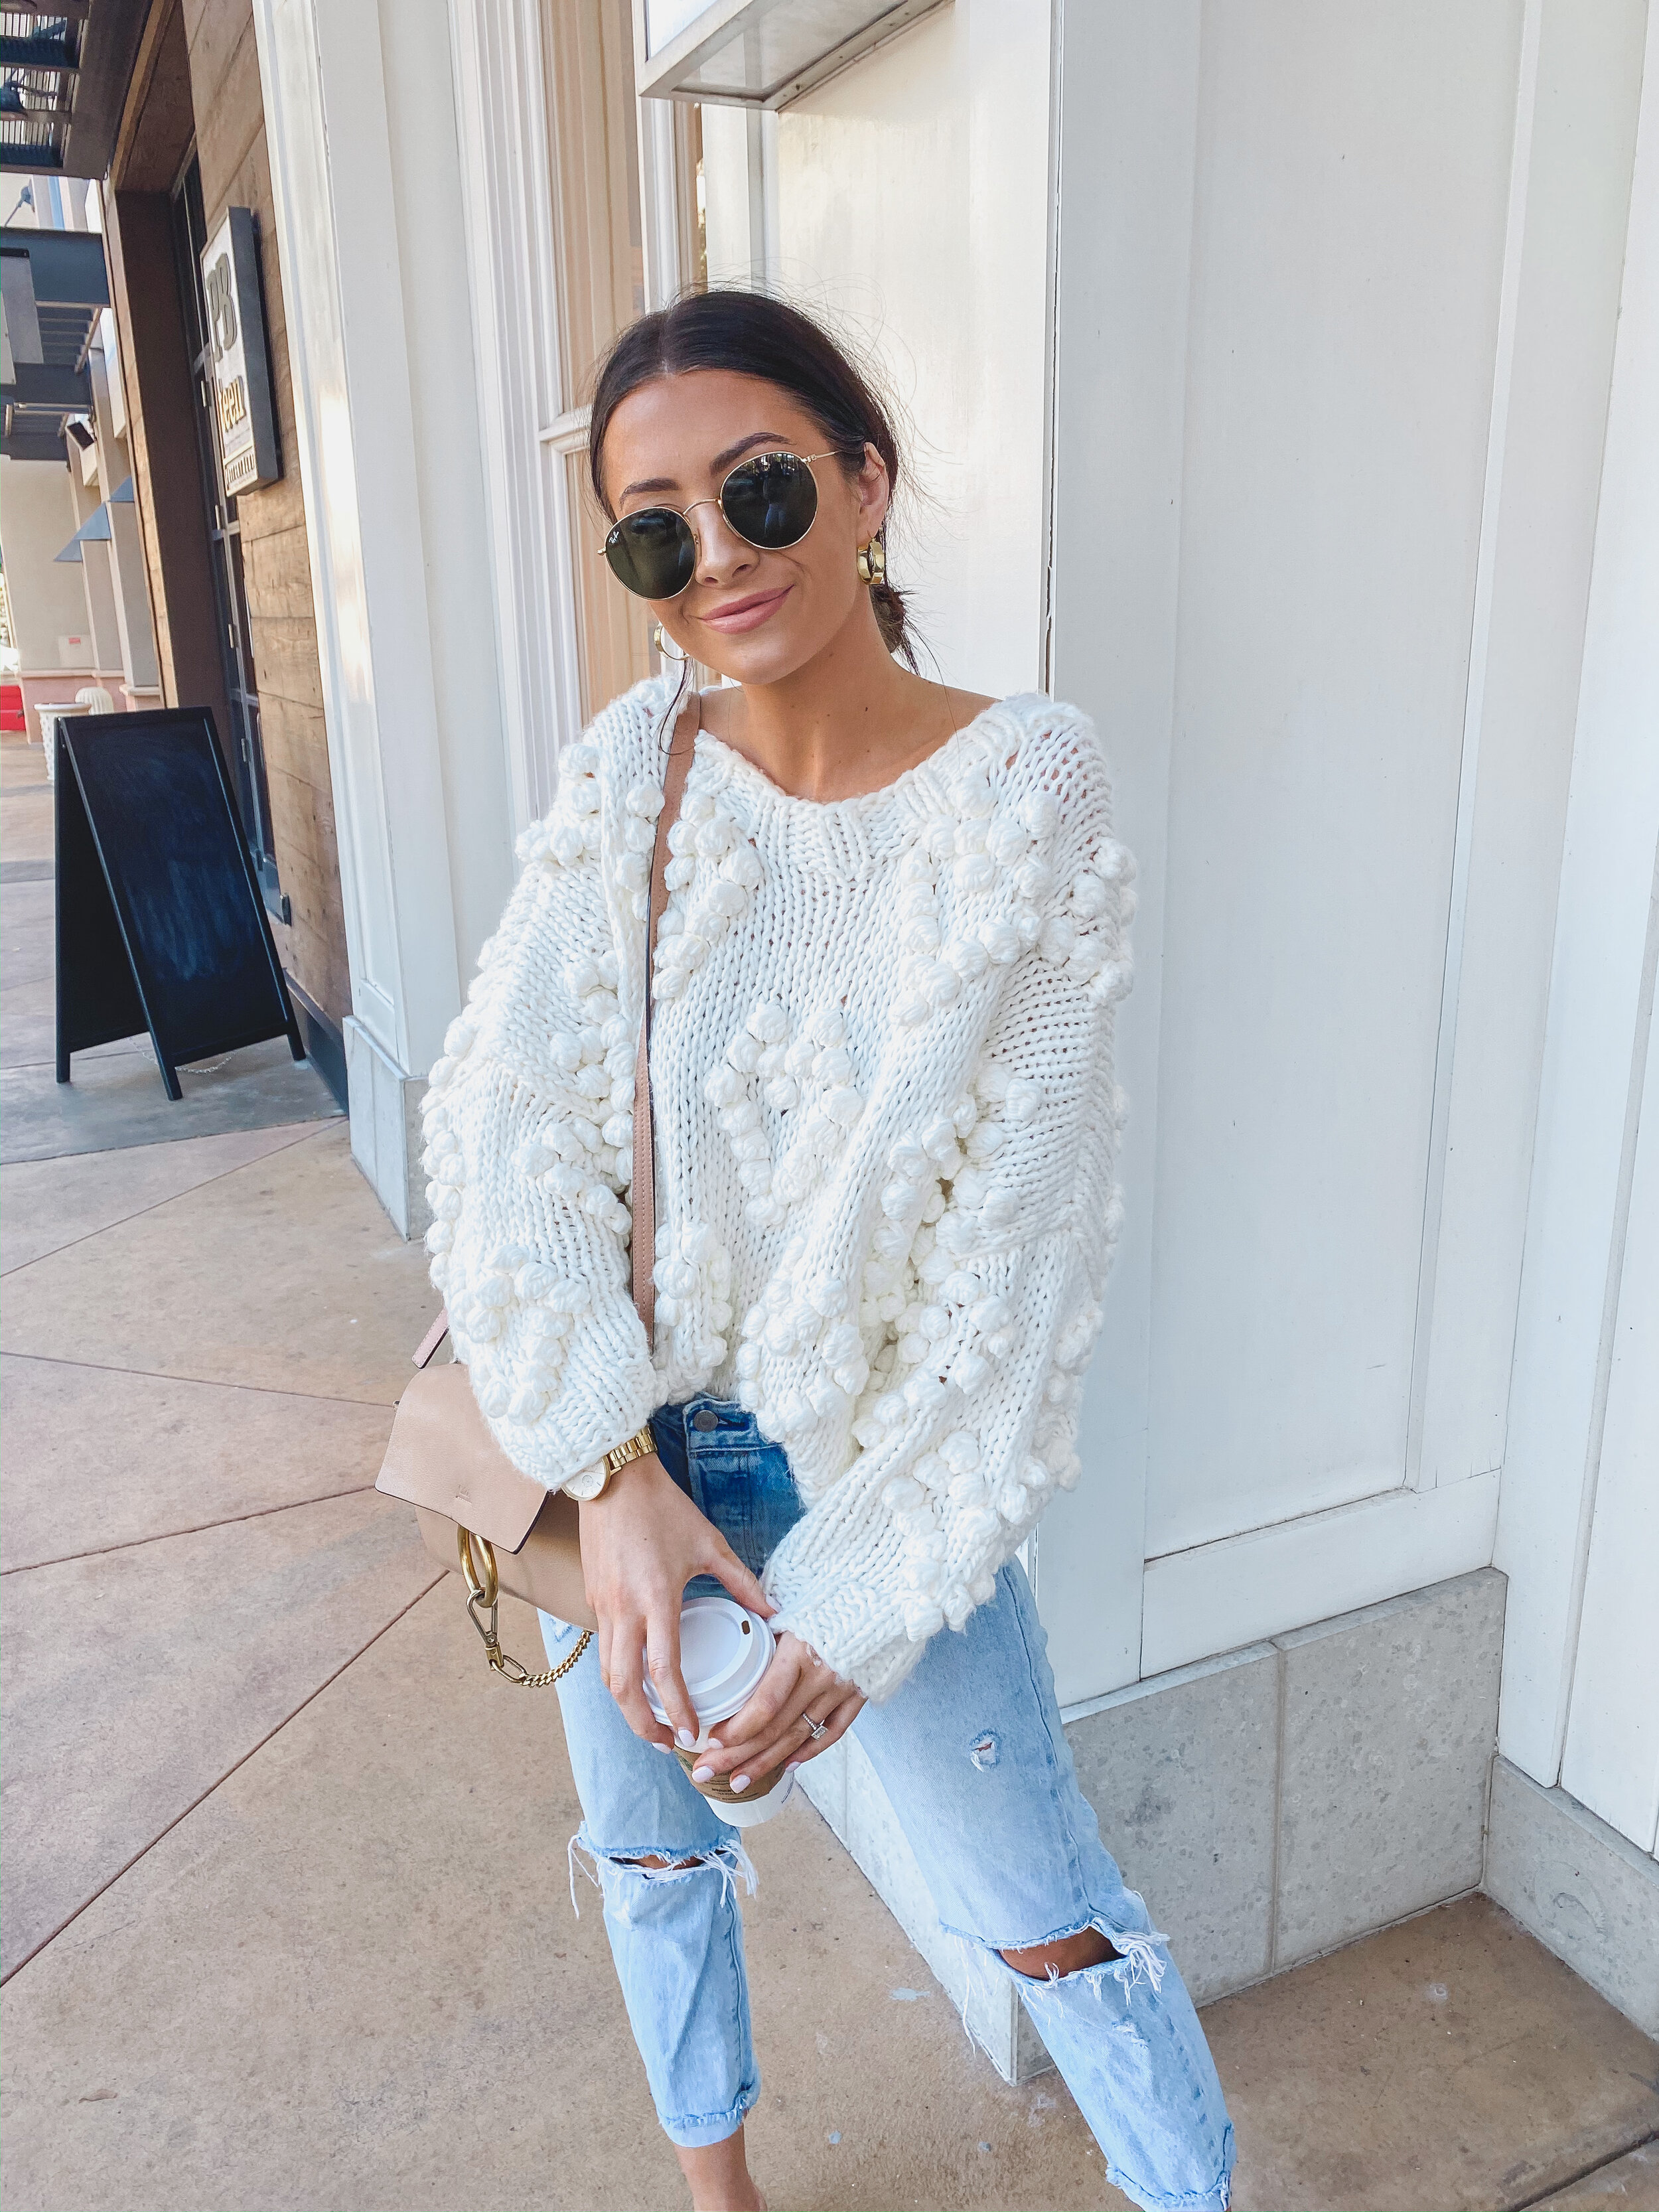
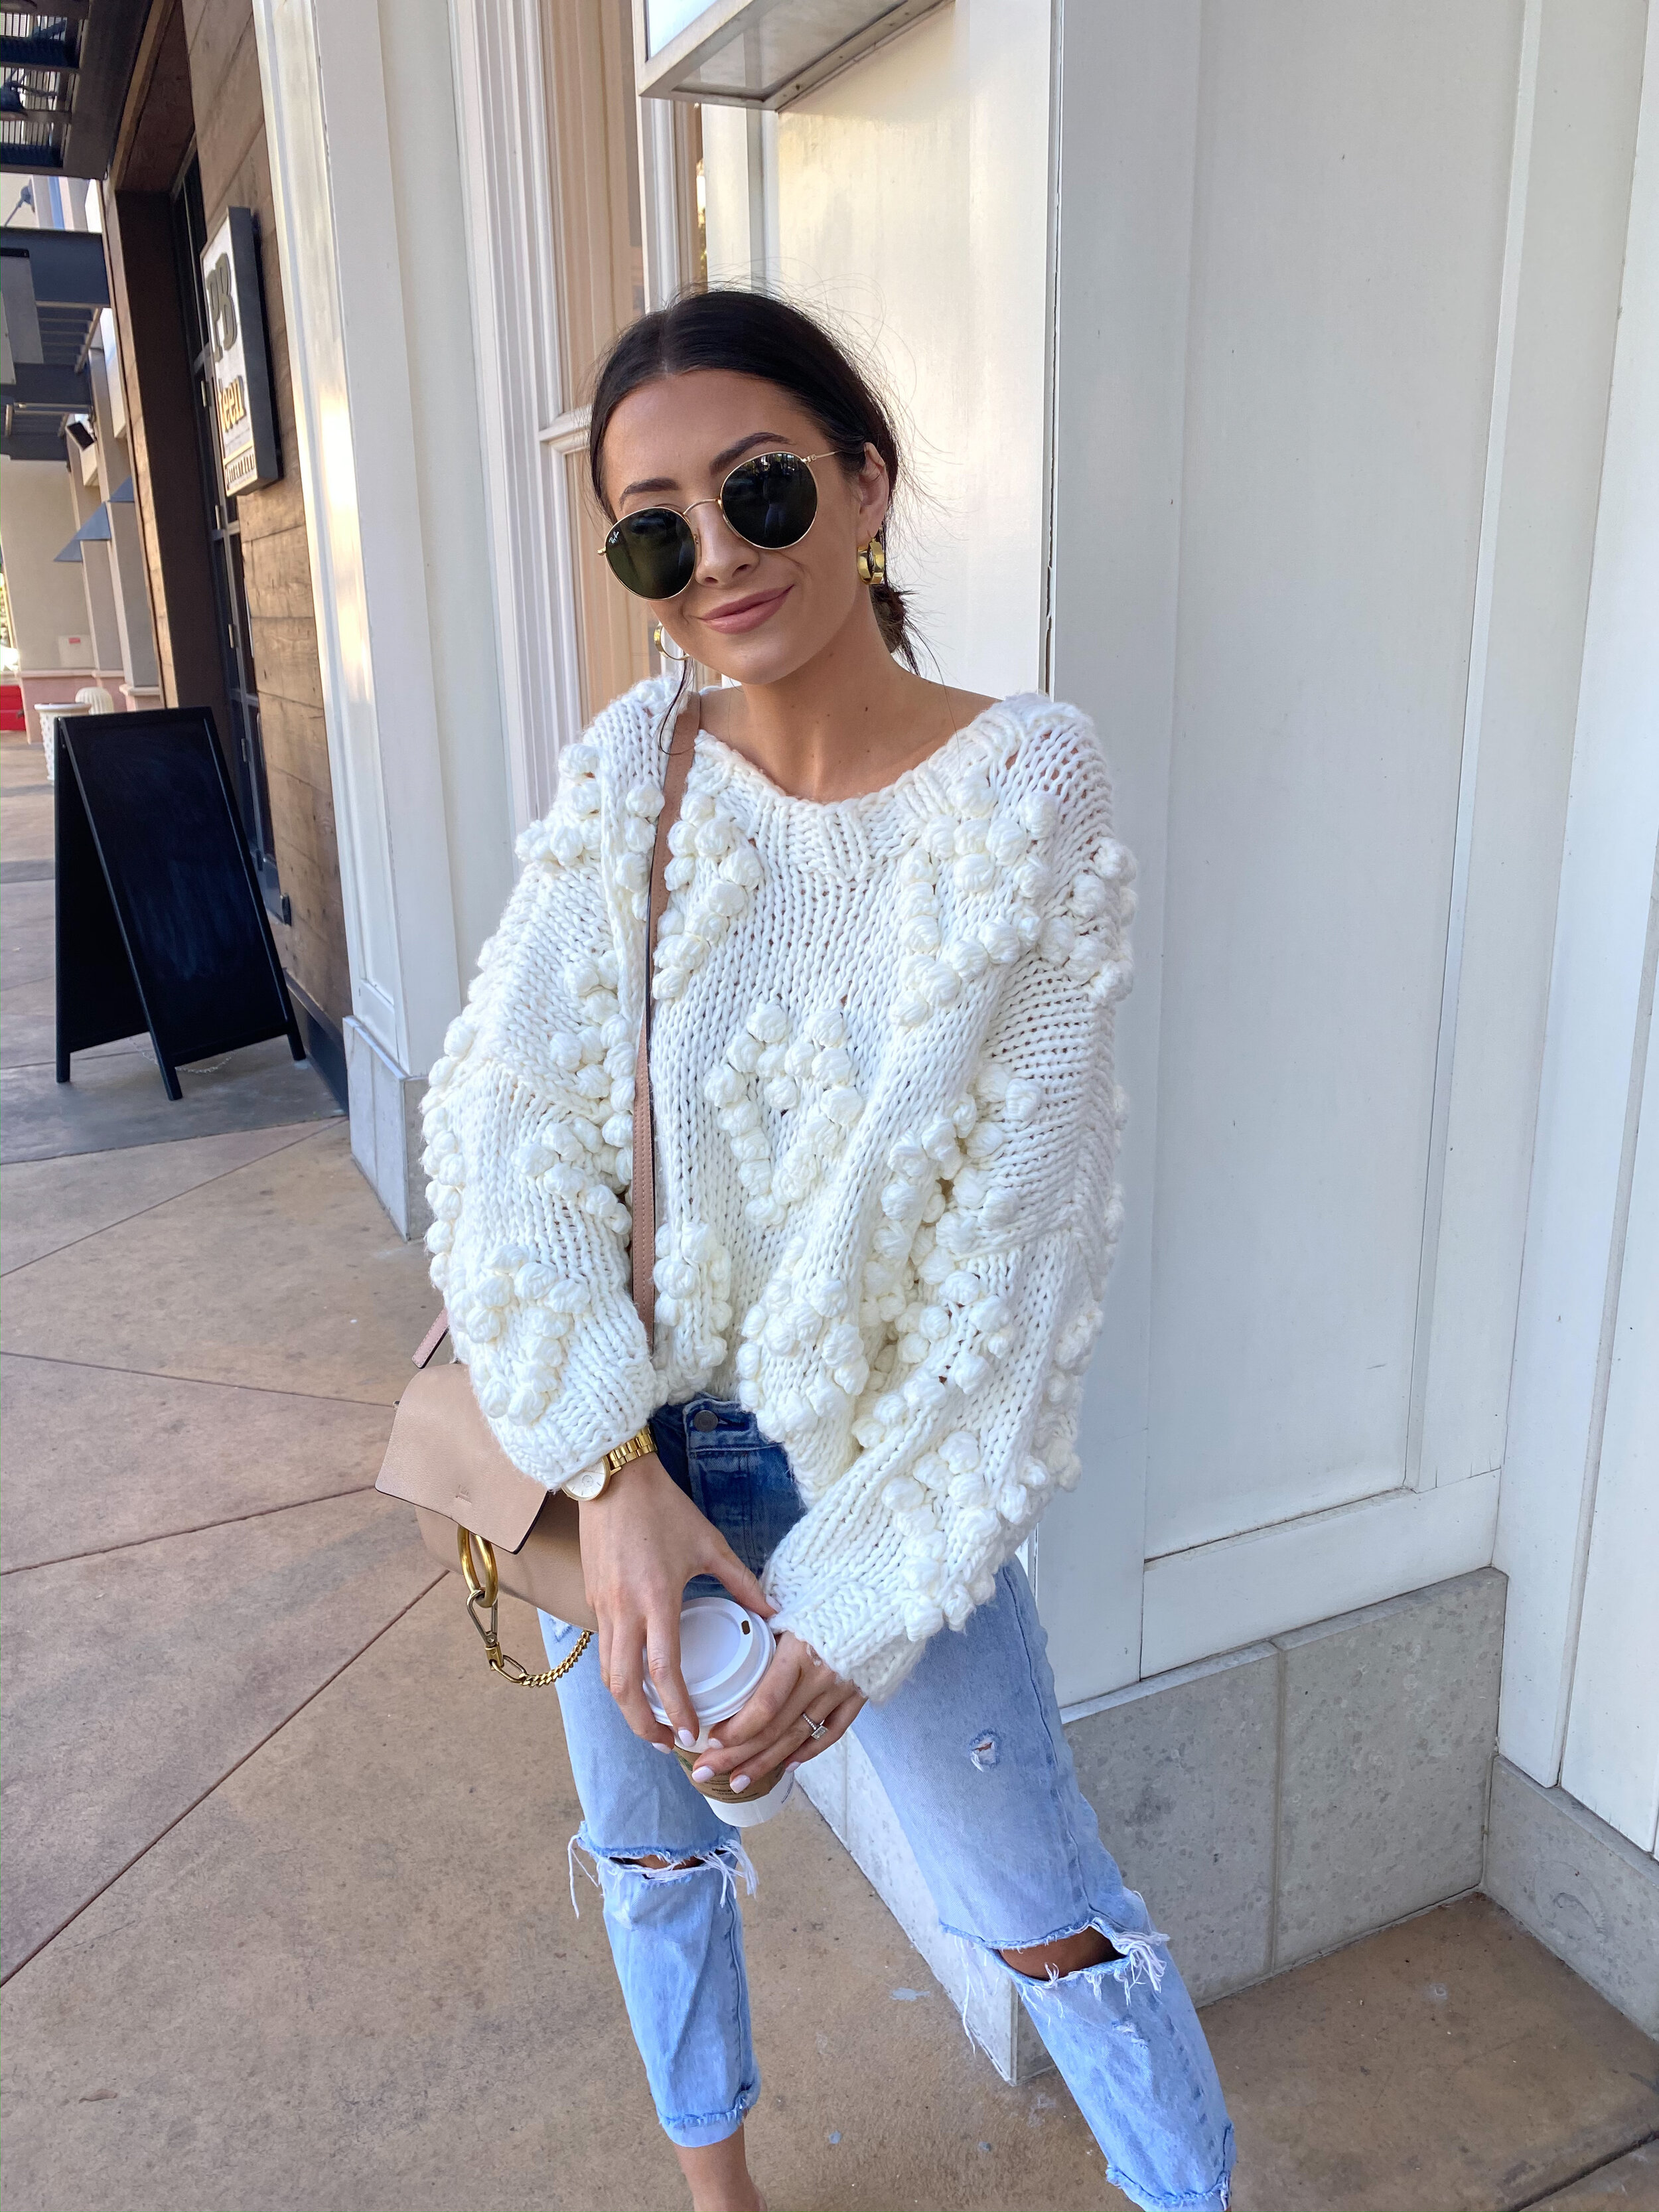
I like a more subtle look so these presets aren’t anything crazy, but they will give you all the right colors with that perfect glow! Ya’ll know I love light and bright so that was my main goal in these, while also not looking washed out of course. I just know that you guys will love all of these 7 different preset options as much as I do! Make sure to follow @nicolecarlsonpresets on IG for before/afters & how each preset makes your photos look!
I would love to see your gorgeous photos so tag #nicolepresets so I can go comment on them and feature them!!
WHAT’S INCLUDED?
- 7 different Lightroom presets
- A video tutorial walking you through how to download the presets and upload them onto your Lightroom mobile app & how edit with the presets!
HOW DO I USE THEM?
- On your phone, download the app lightroom mobile. It’s completely free, no subscription necessary!
- Purchase my presets and download them + add them into lightroom mobile! It’s super easy and you can add them to any photo with one click. (full detailed instructions will be sent in confirmation email)
- Presets work with Lightroom Mobile app (free) and Lightroom CC & Lightroom classic (computer applications and paid subscription needed)
EXPERIENCE NEEDED?
- No editing/Lightroom experience is needed to use these presets, our video tutorial will walk you through how to make little adjustments to perfect the presets for your style in different lighting scenarios.
If your .zip file will not download after several attempts, try using a different internet browser (i.e. Safari, Google Chrome, Firefox).
All preset sales are final. No refunds are available. Any unauthorized distribution of Nicole Presets is prohibited and illegal and will be met with legal action.
Email presets.help@gmail.com for customer service inquiries.
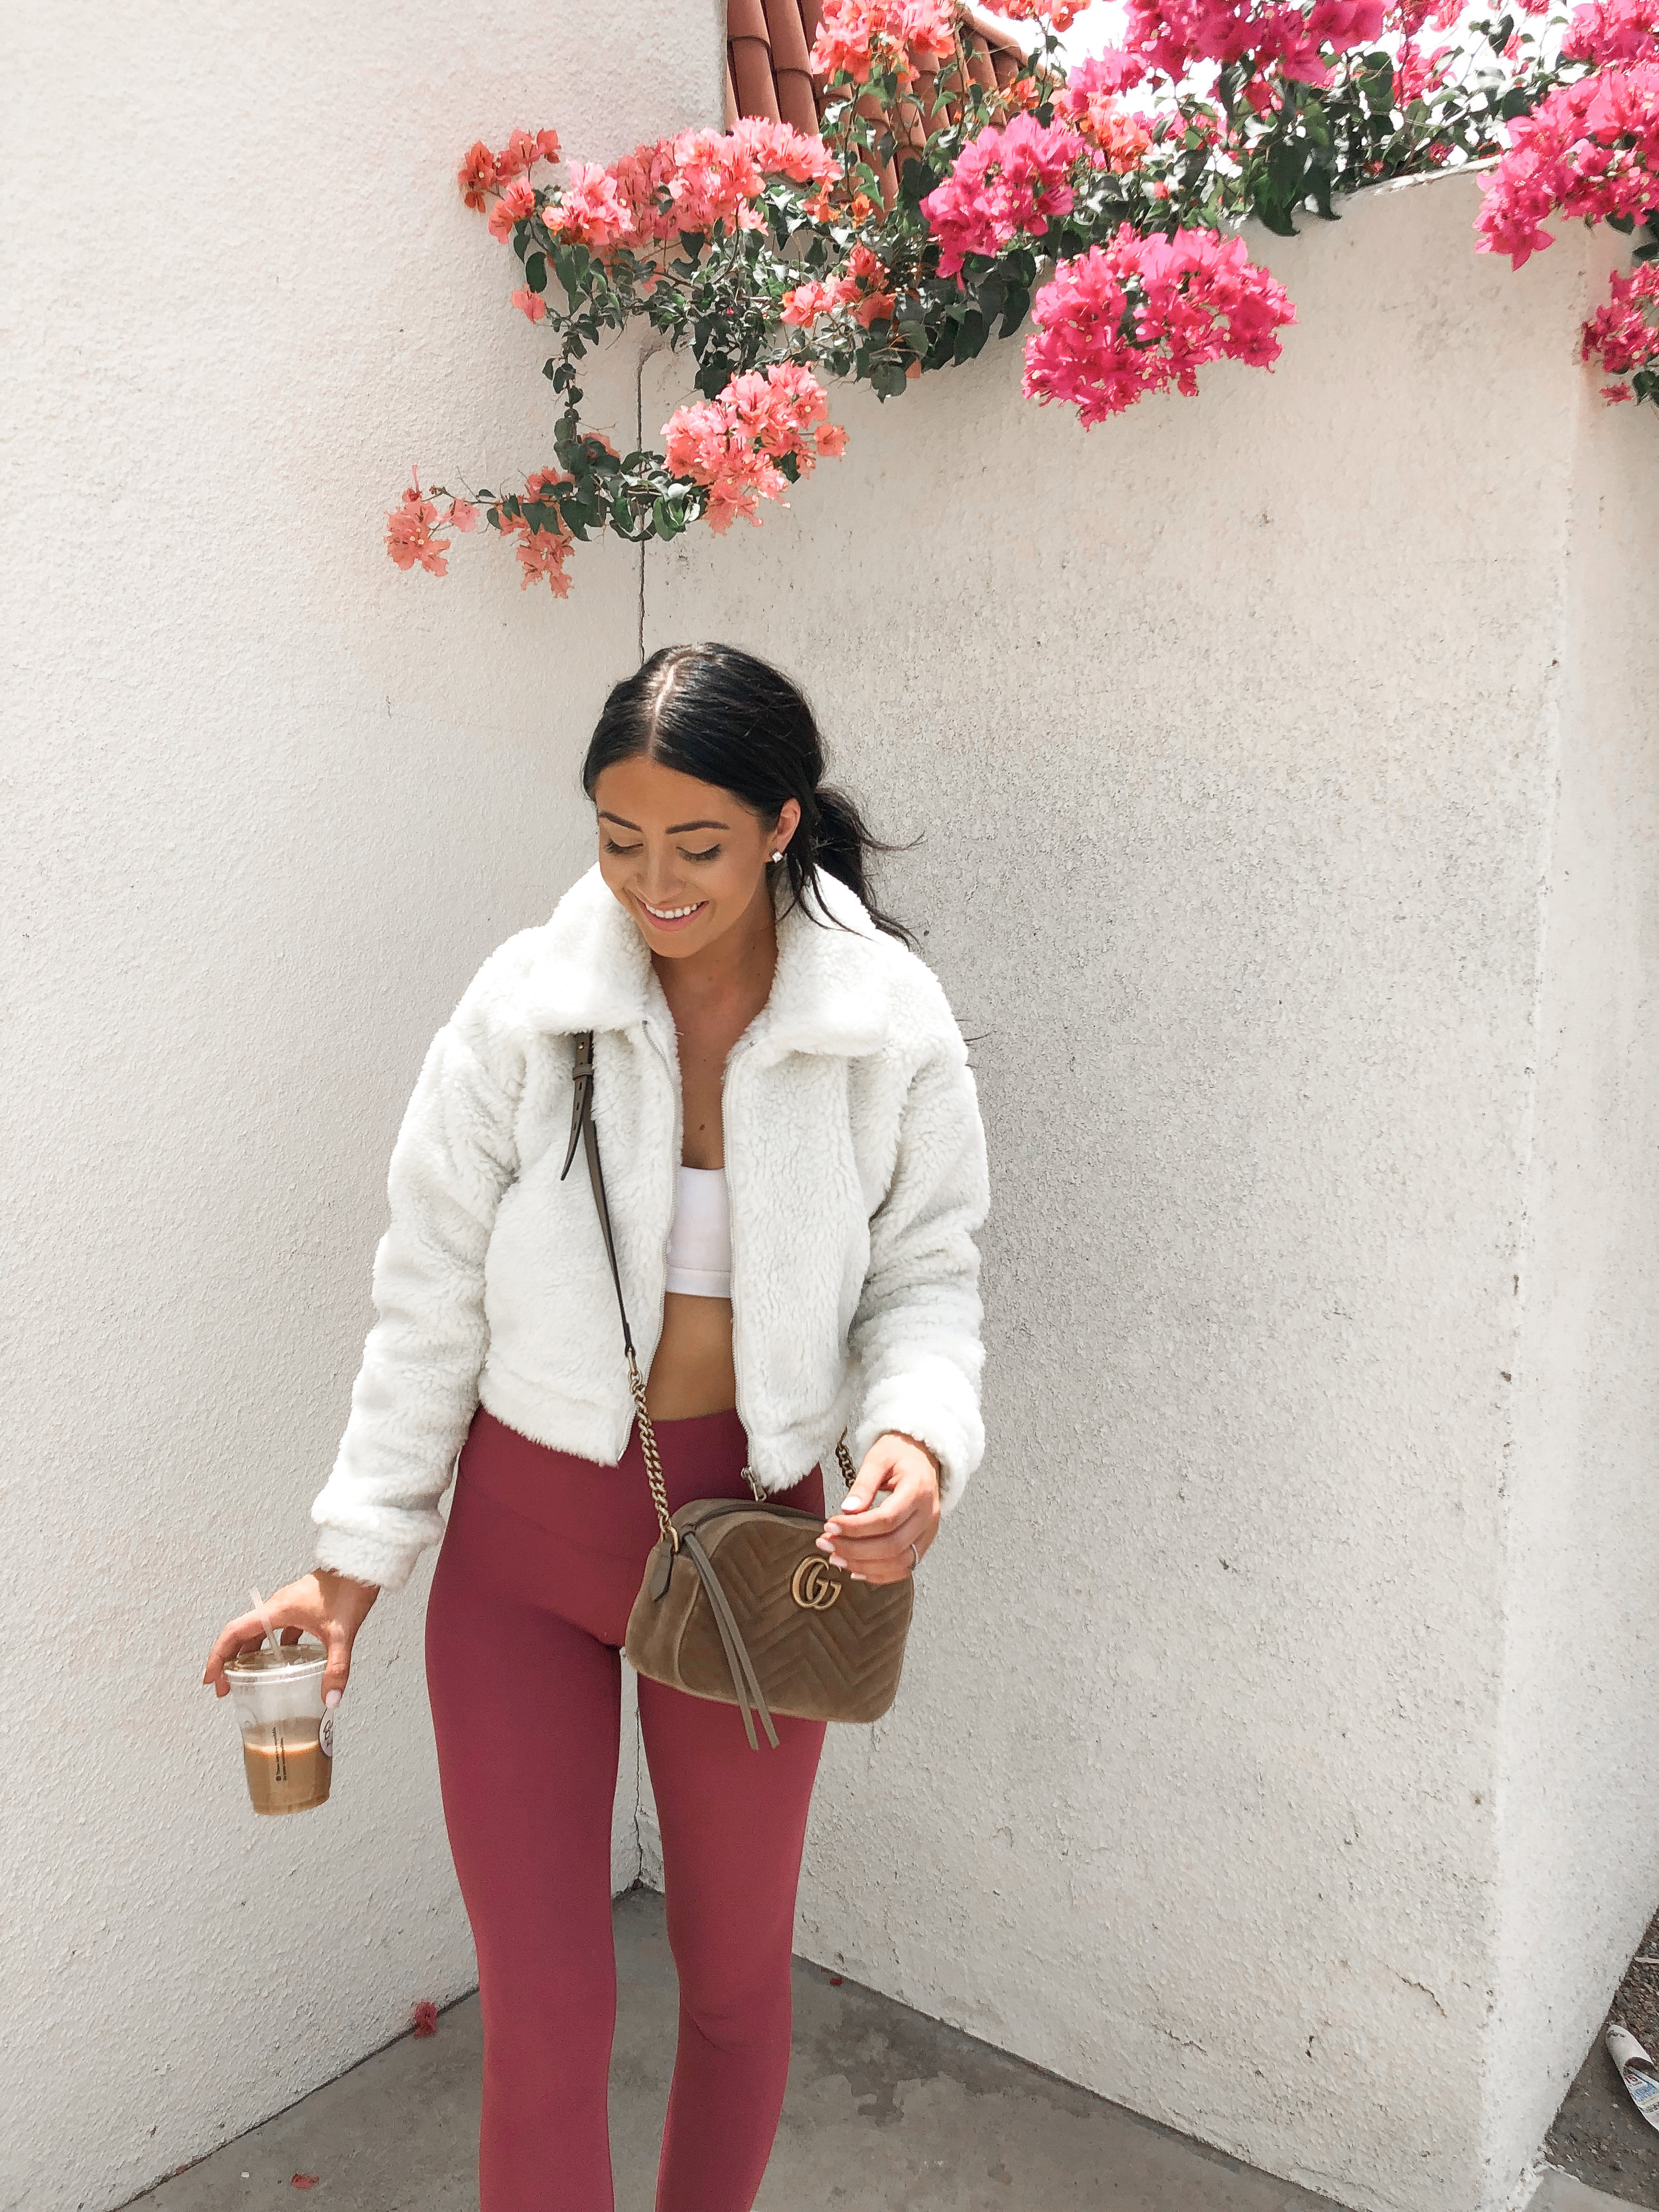
All preset before and afters shown were edited using ONE CLICK - no additional tweaks!
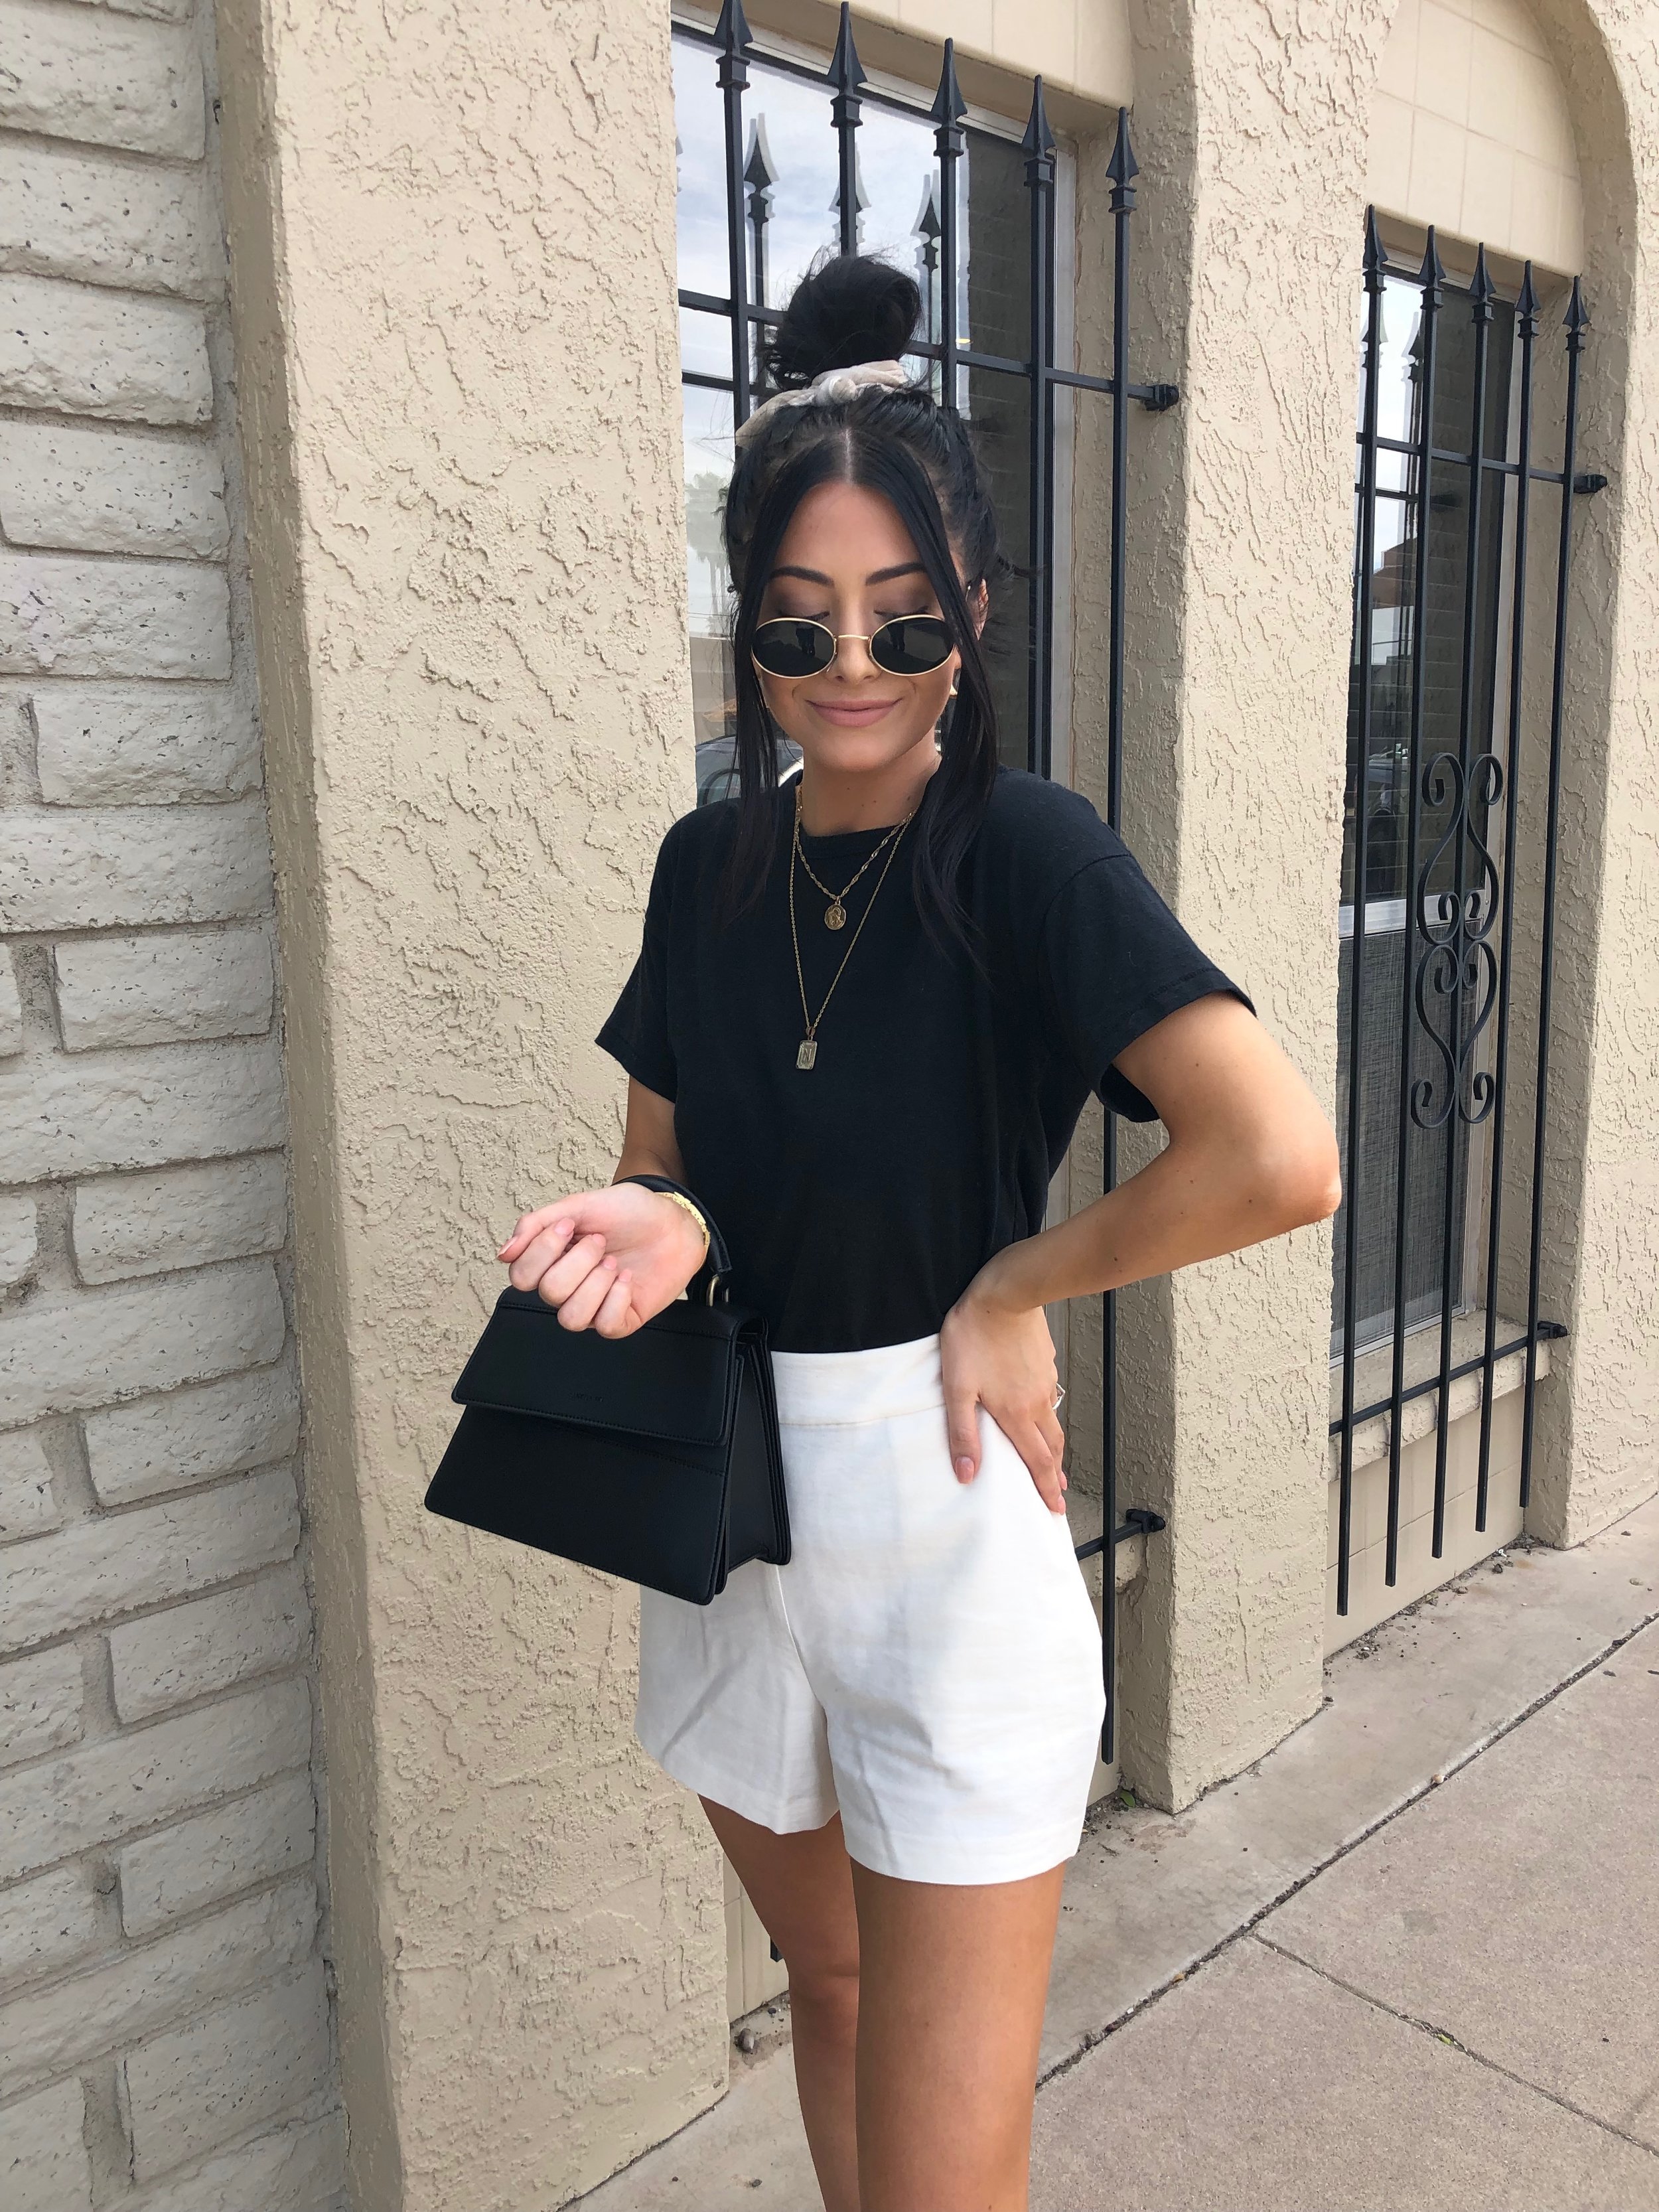
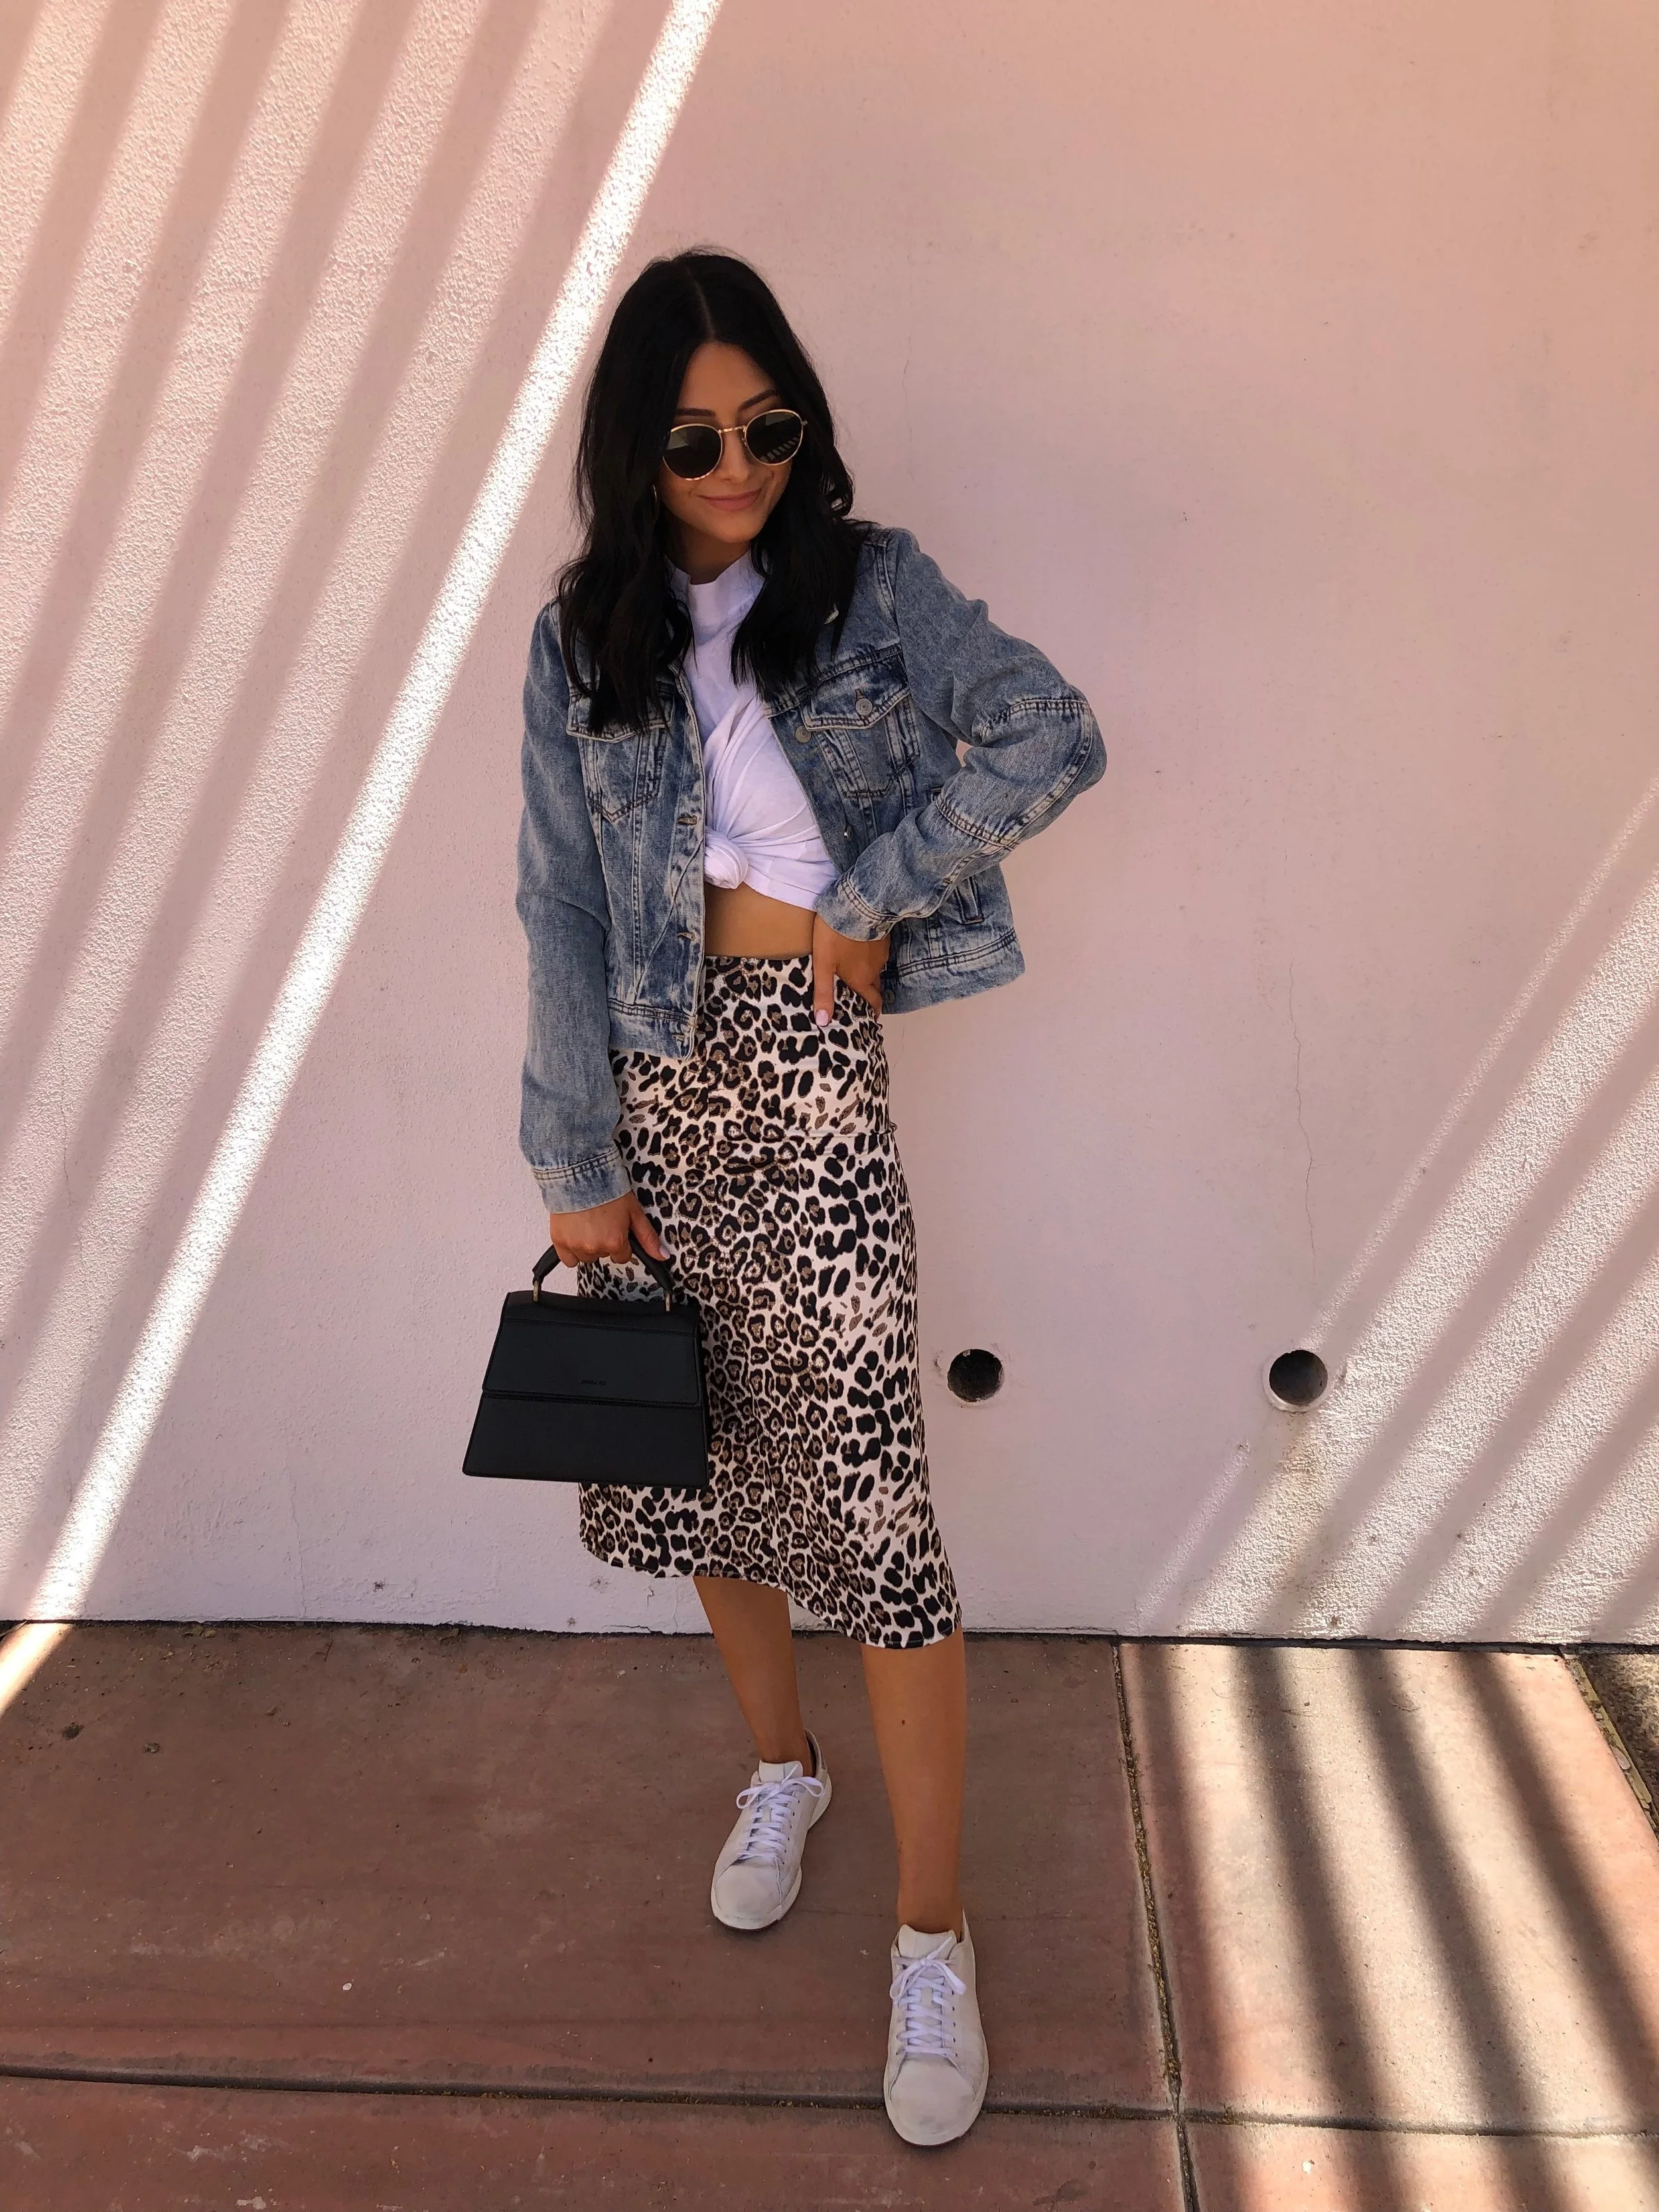
nicole 1 - clean, bright & minimal!


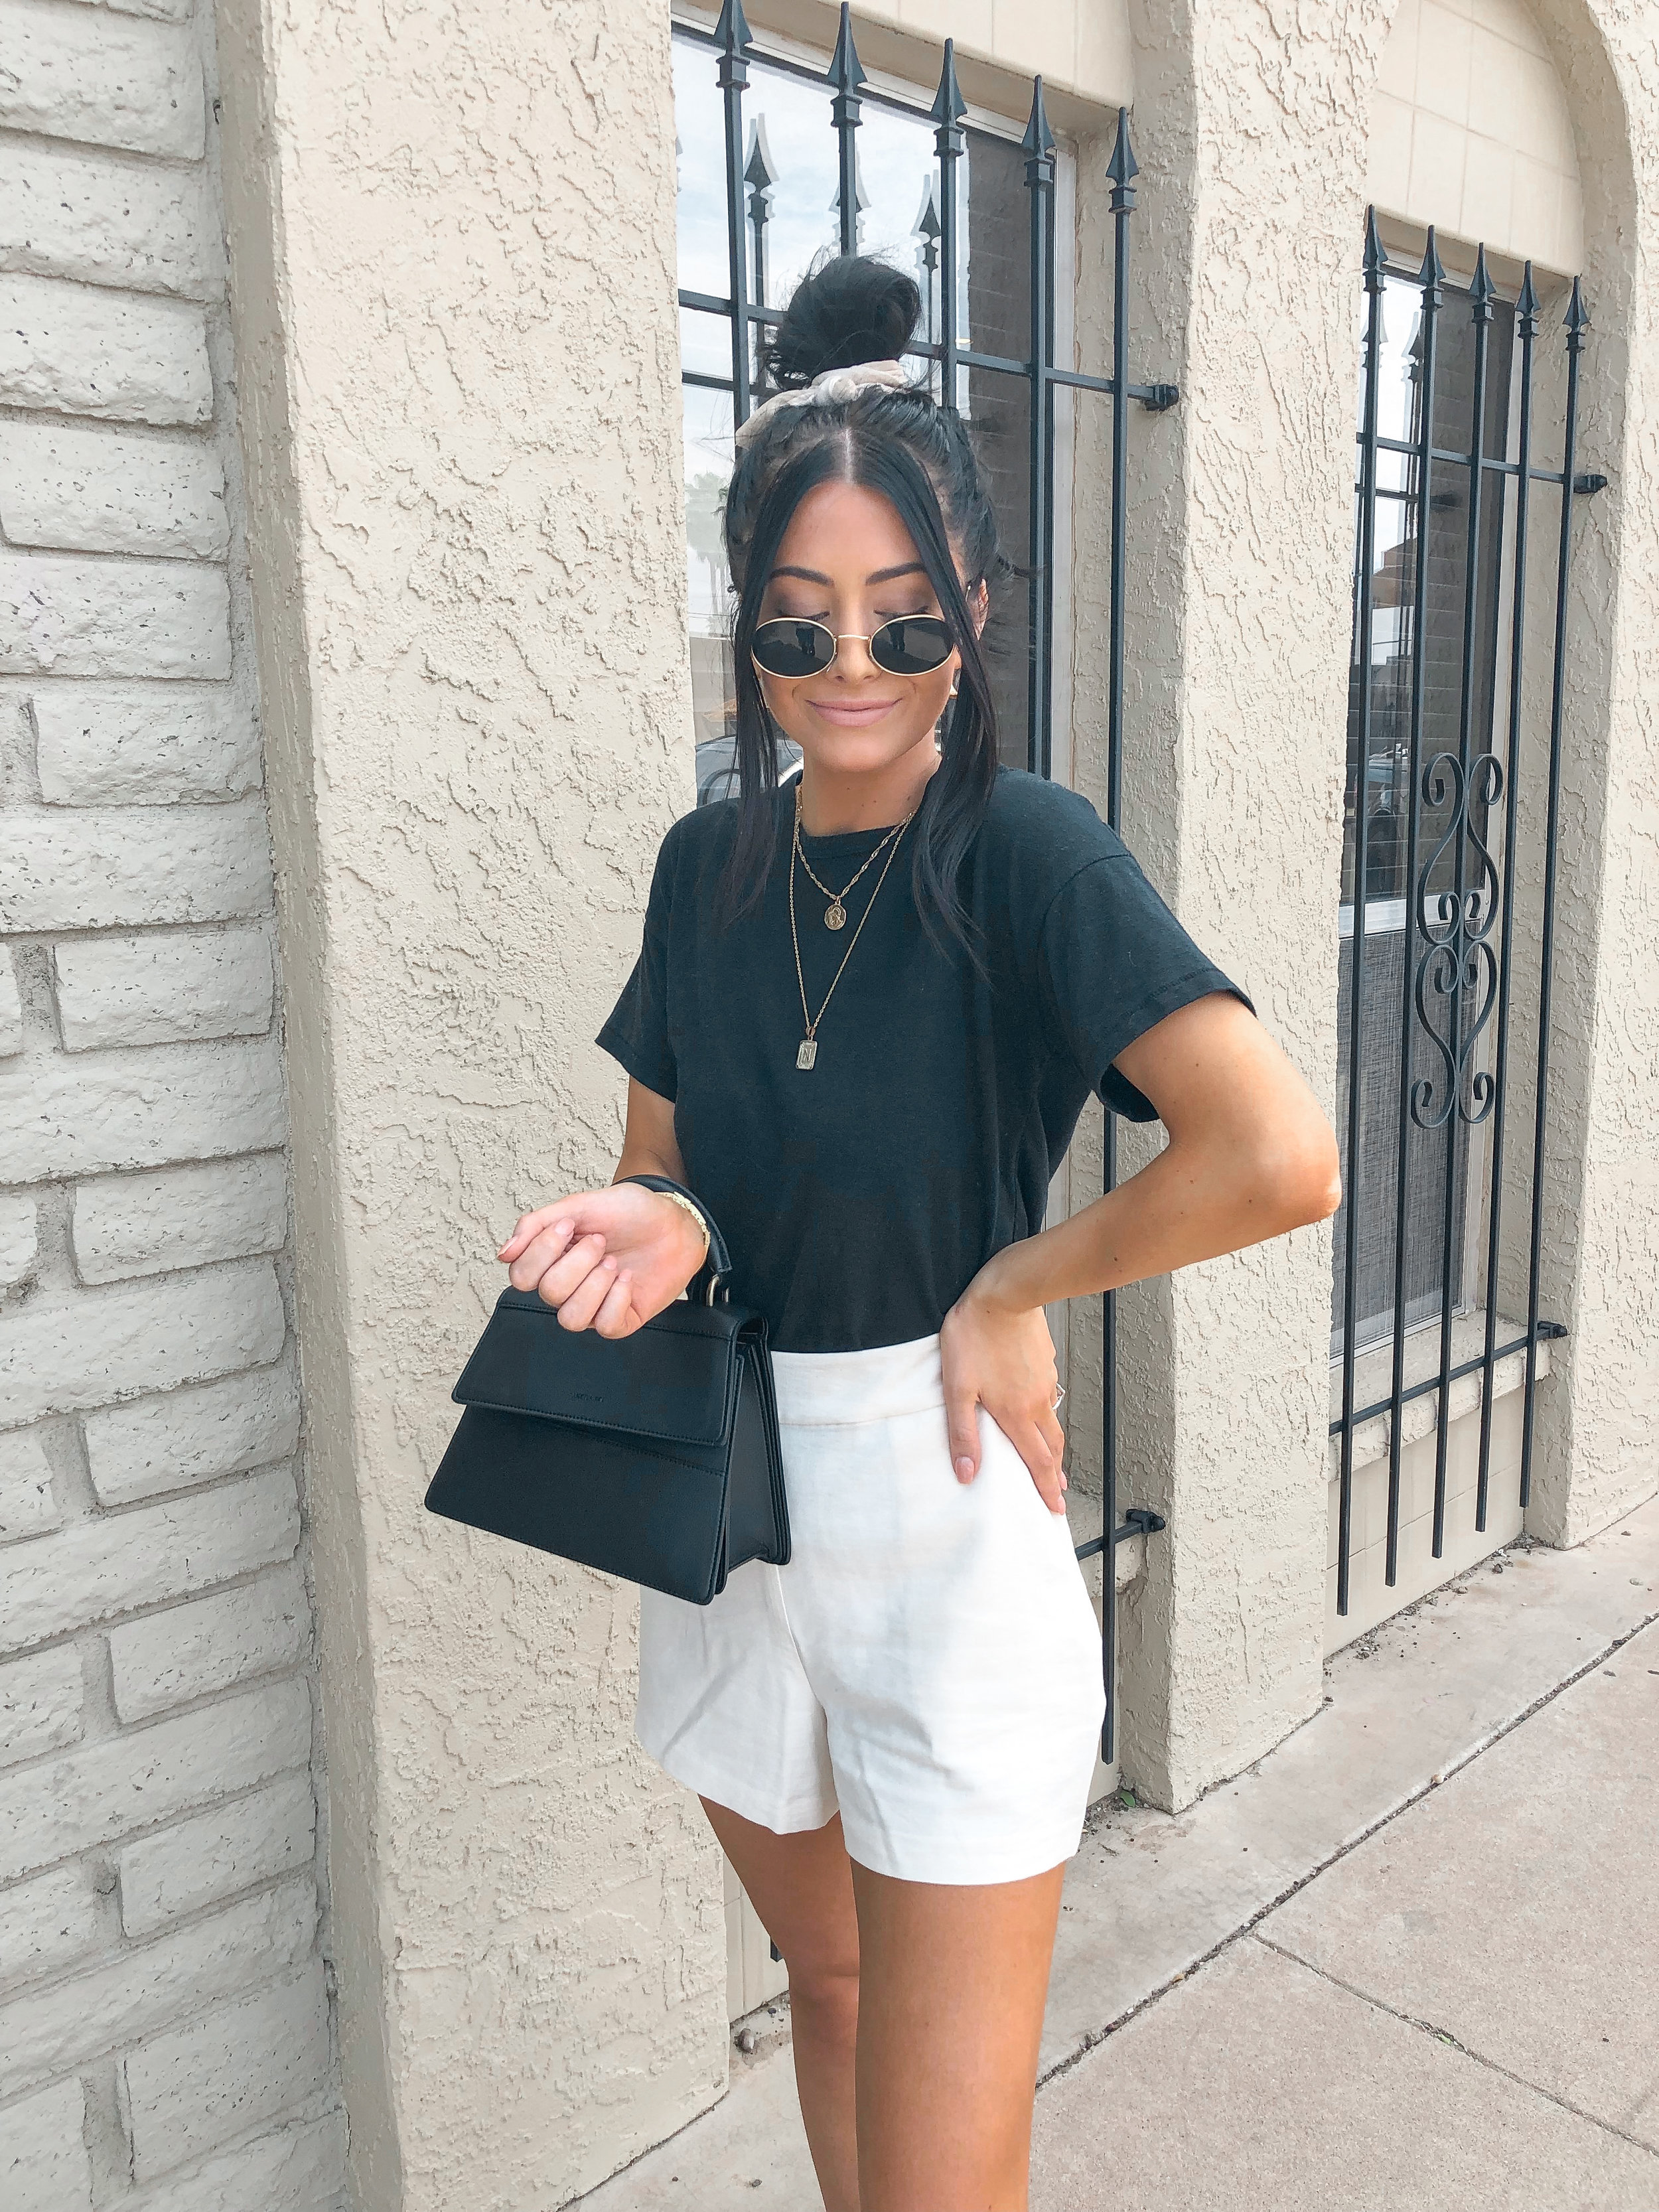
nicole 2 - same minimal vibe with brighter highlights! This is probably the preset I use the most!! 1-5 I use the most on my IG feed with minor tweaks. I usually tweak the shadows on this preset I turn them down so it’s not as “shadowy”.

nicole 3 - this the most vibrant preset & perfect for getting teal blues! Again this is a “one click” edit - exactly how it looks when I apply the preset!! For this photo below the blues are a little intense on this photo so to tweak it I would go to the “color” tab. Click on “mix”, and then click on the darker blue color. And I would turn the blue saturation down so that the blue coloring in this photo wouldn’t be as intense. :)

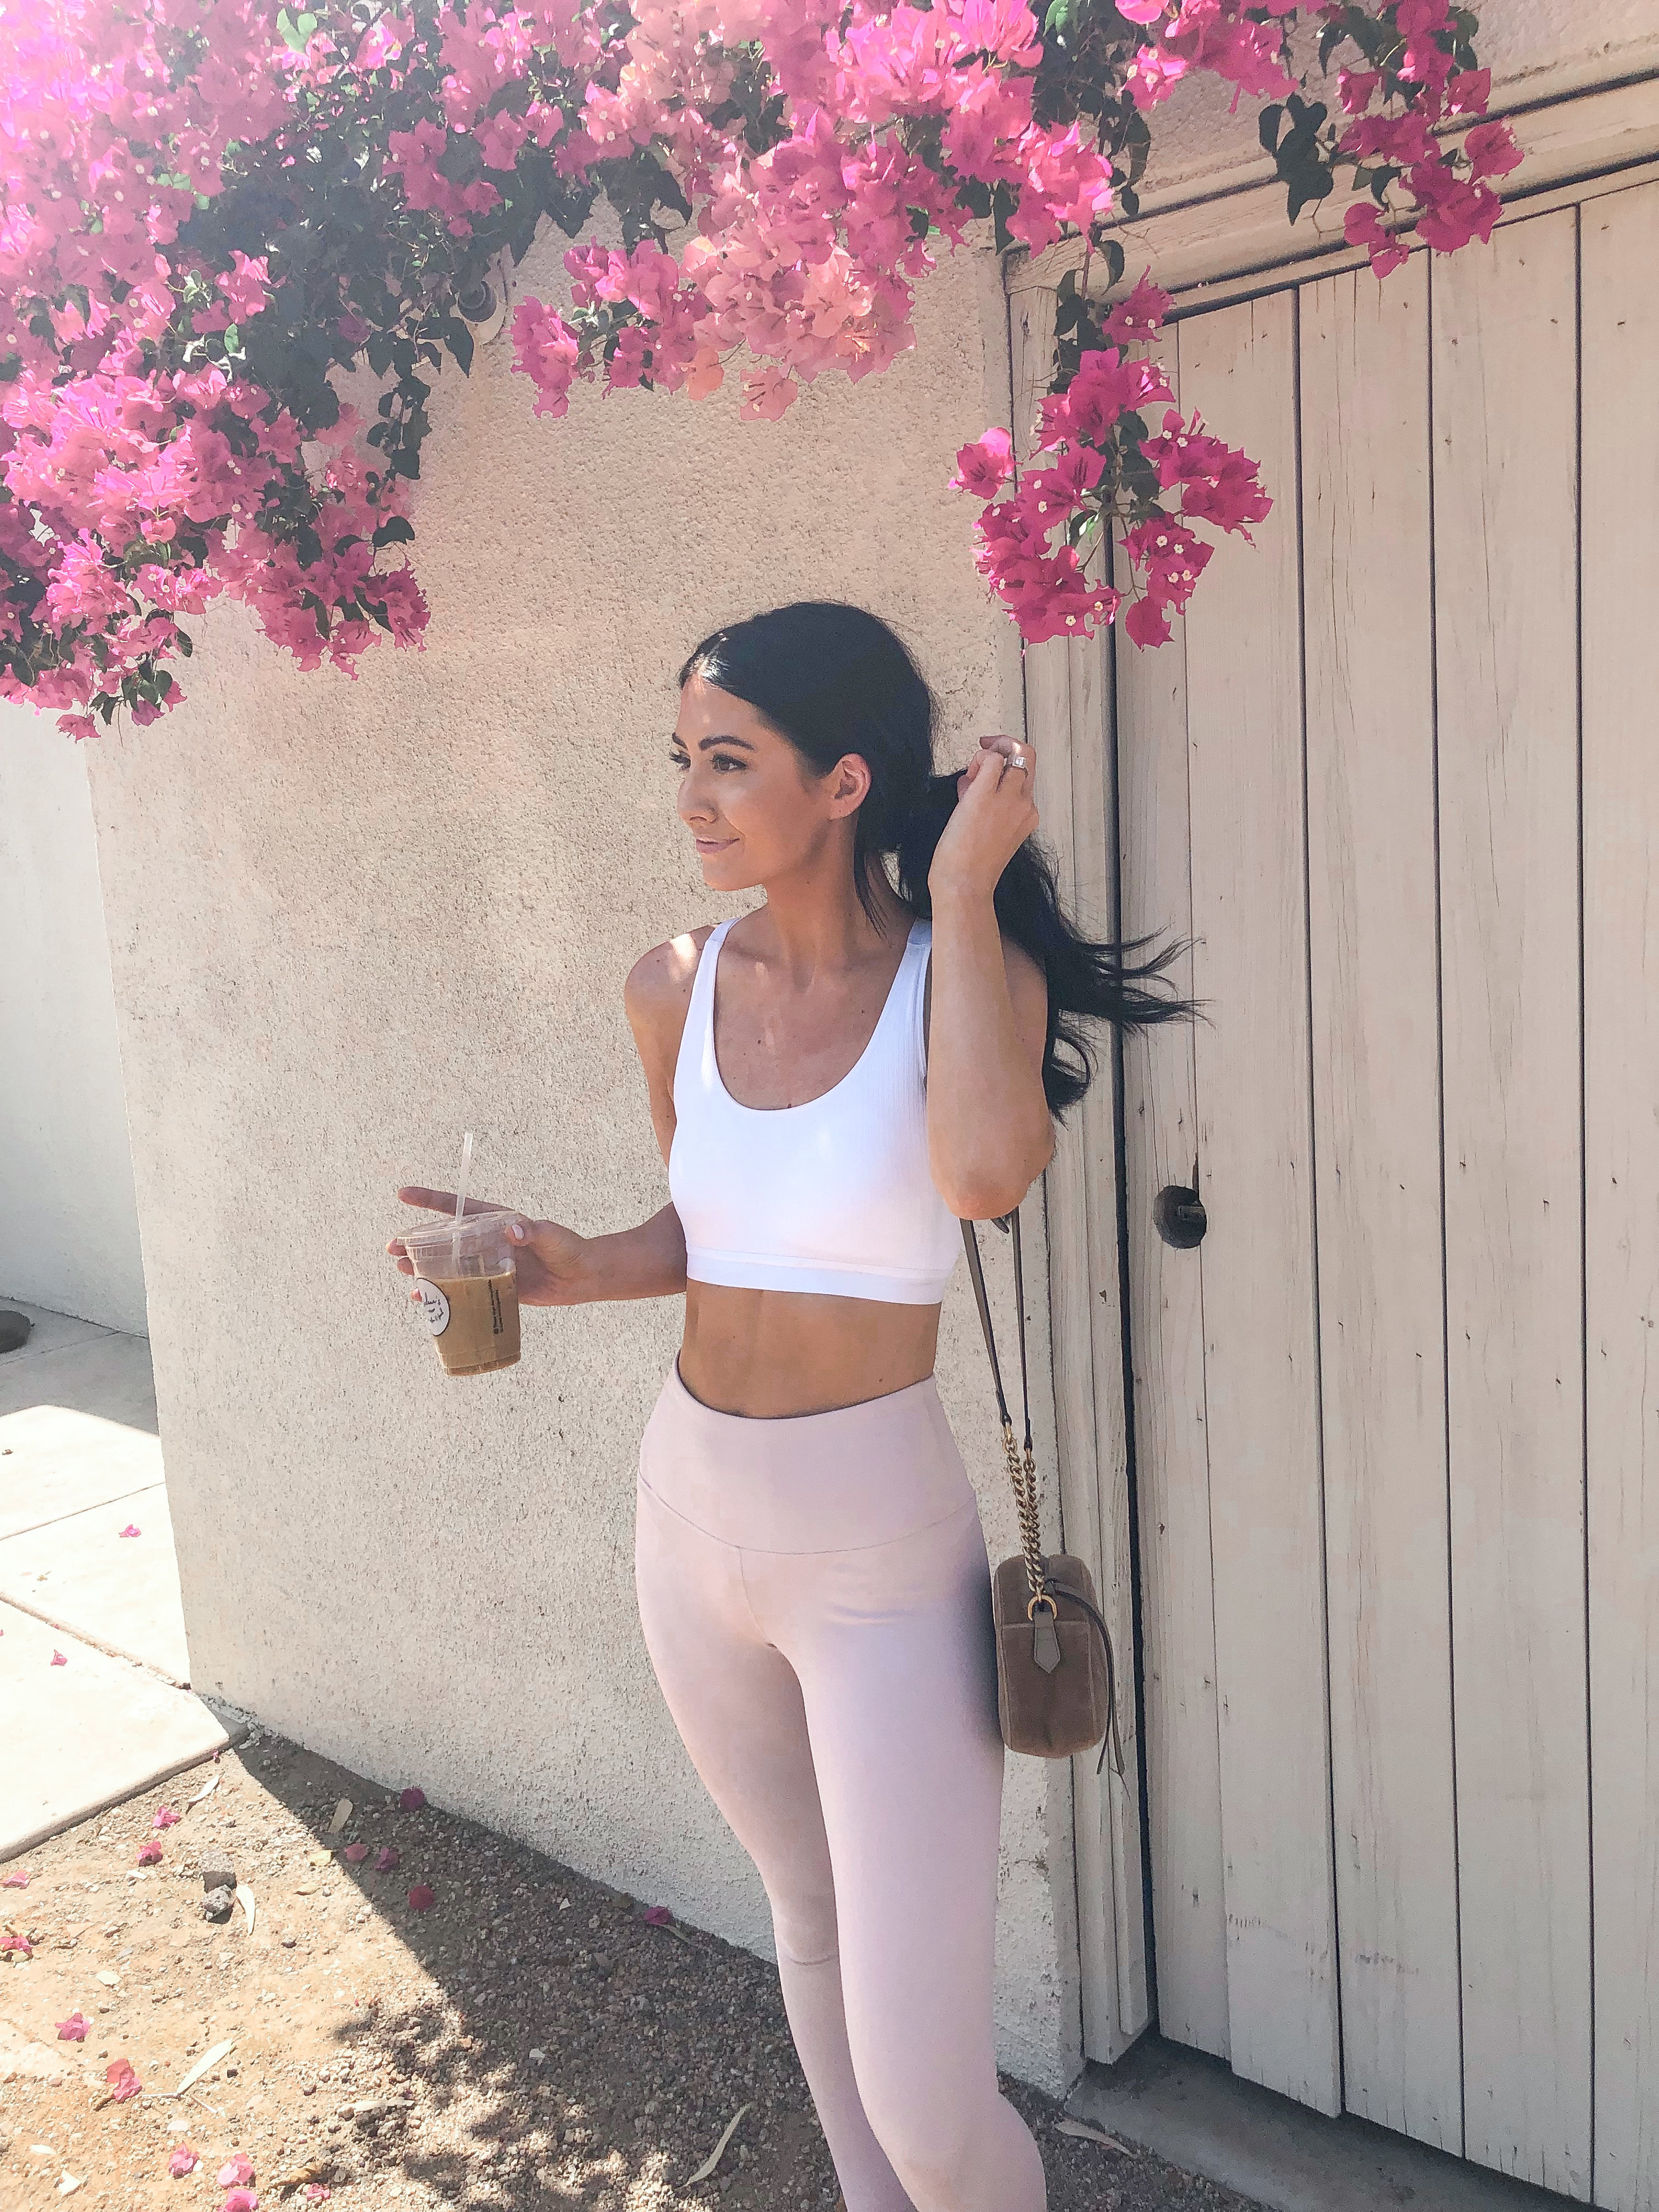
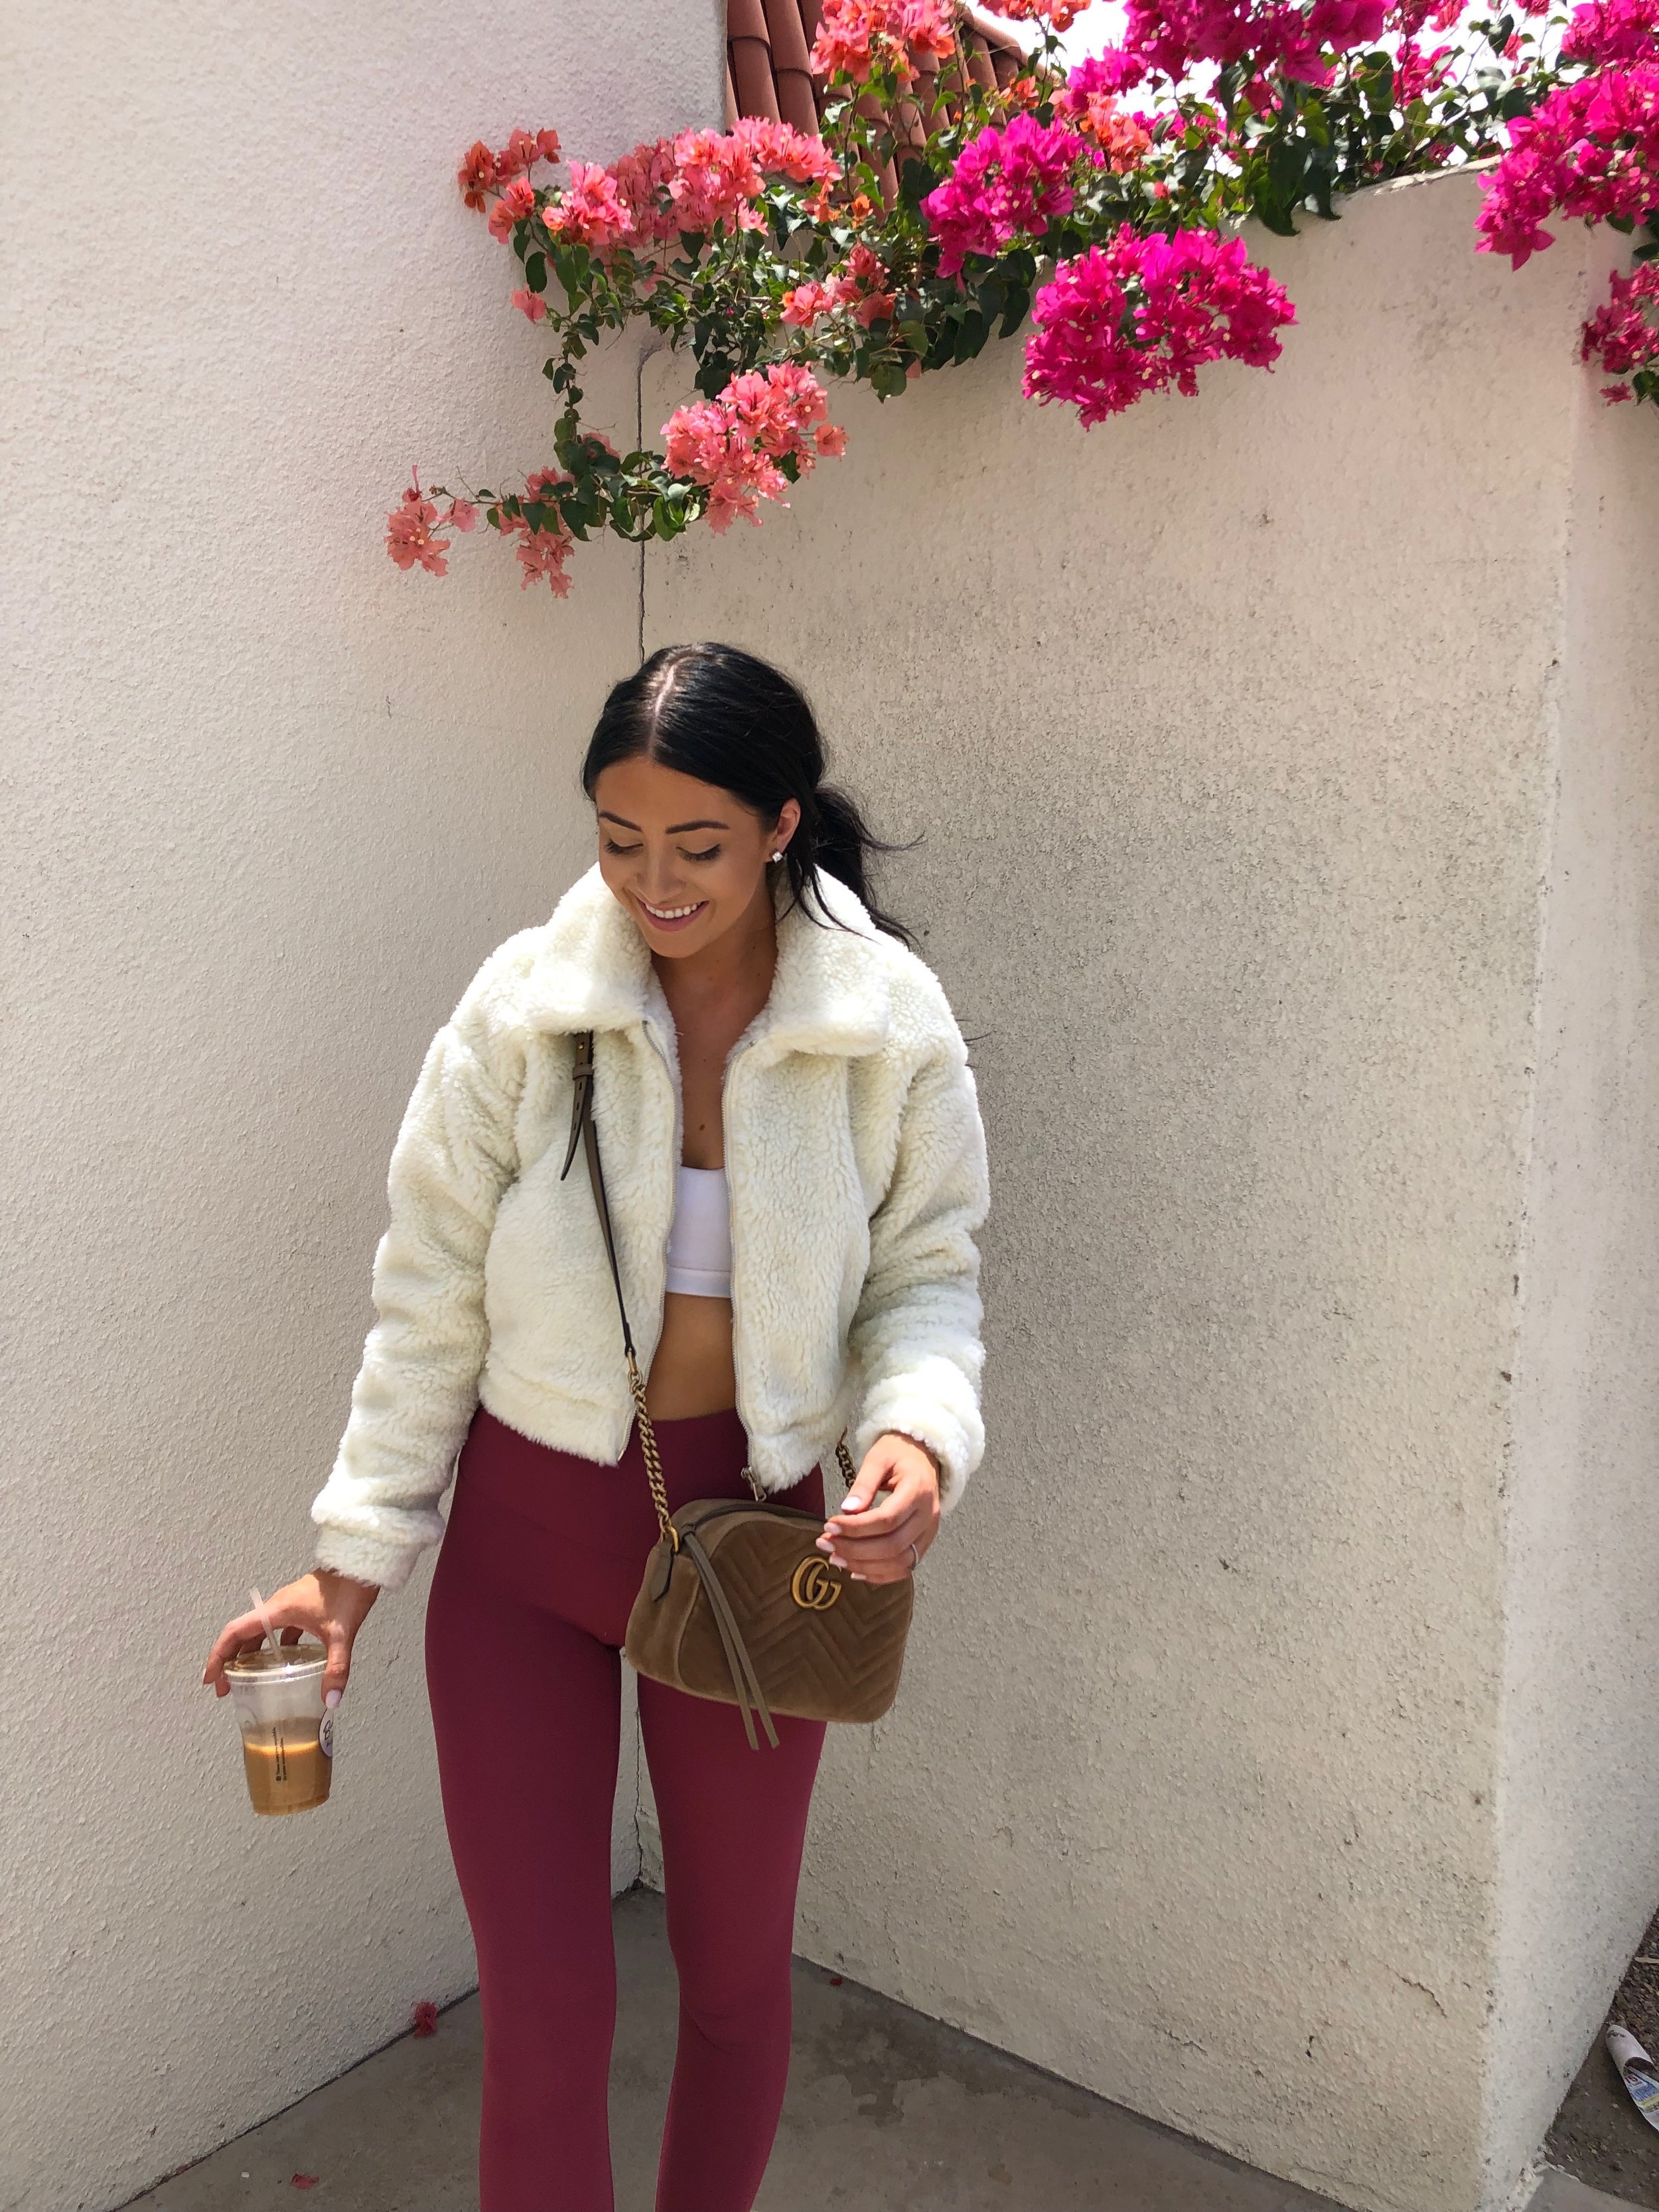
nicole 4 - white & bright! If you want a photo especially white & bright this is your preset!


nicole 5 - desaturated & bright!

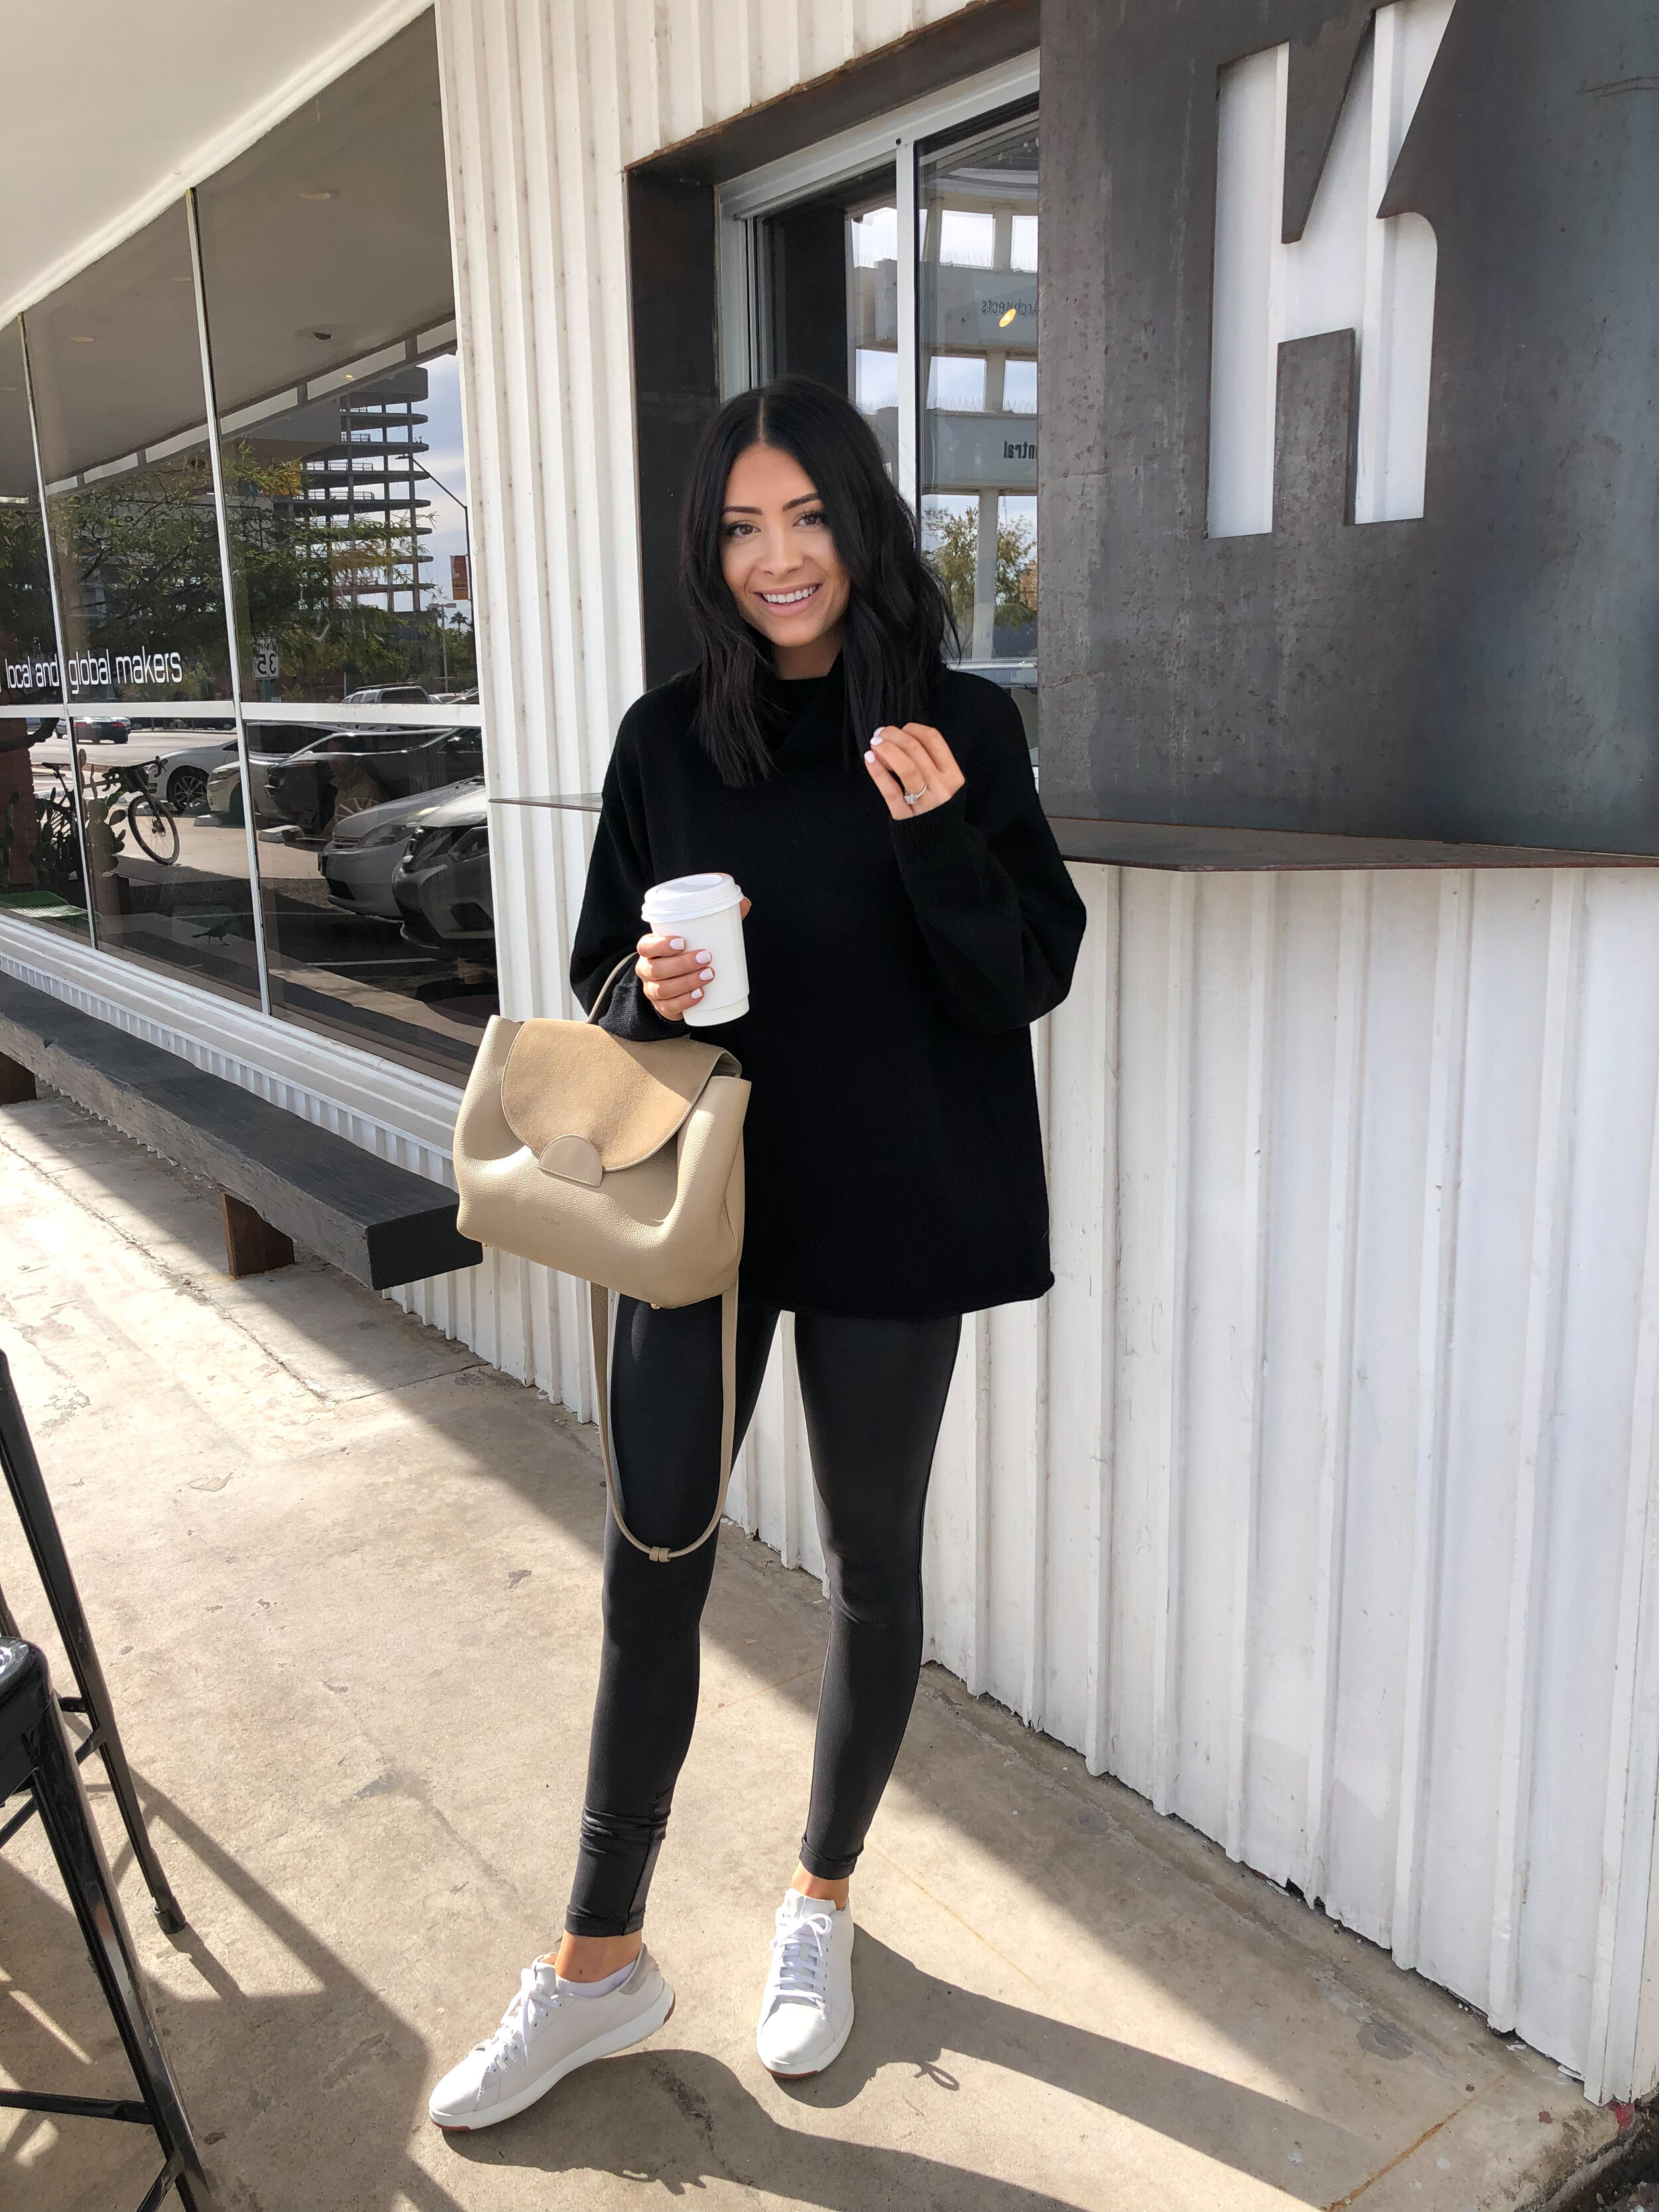
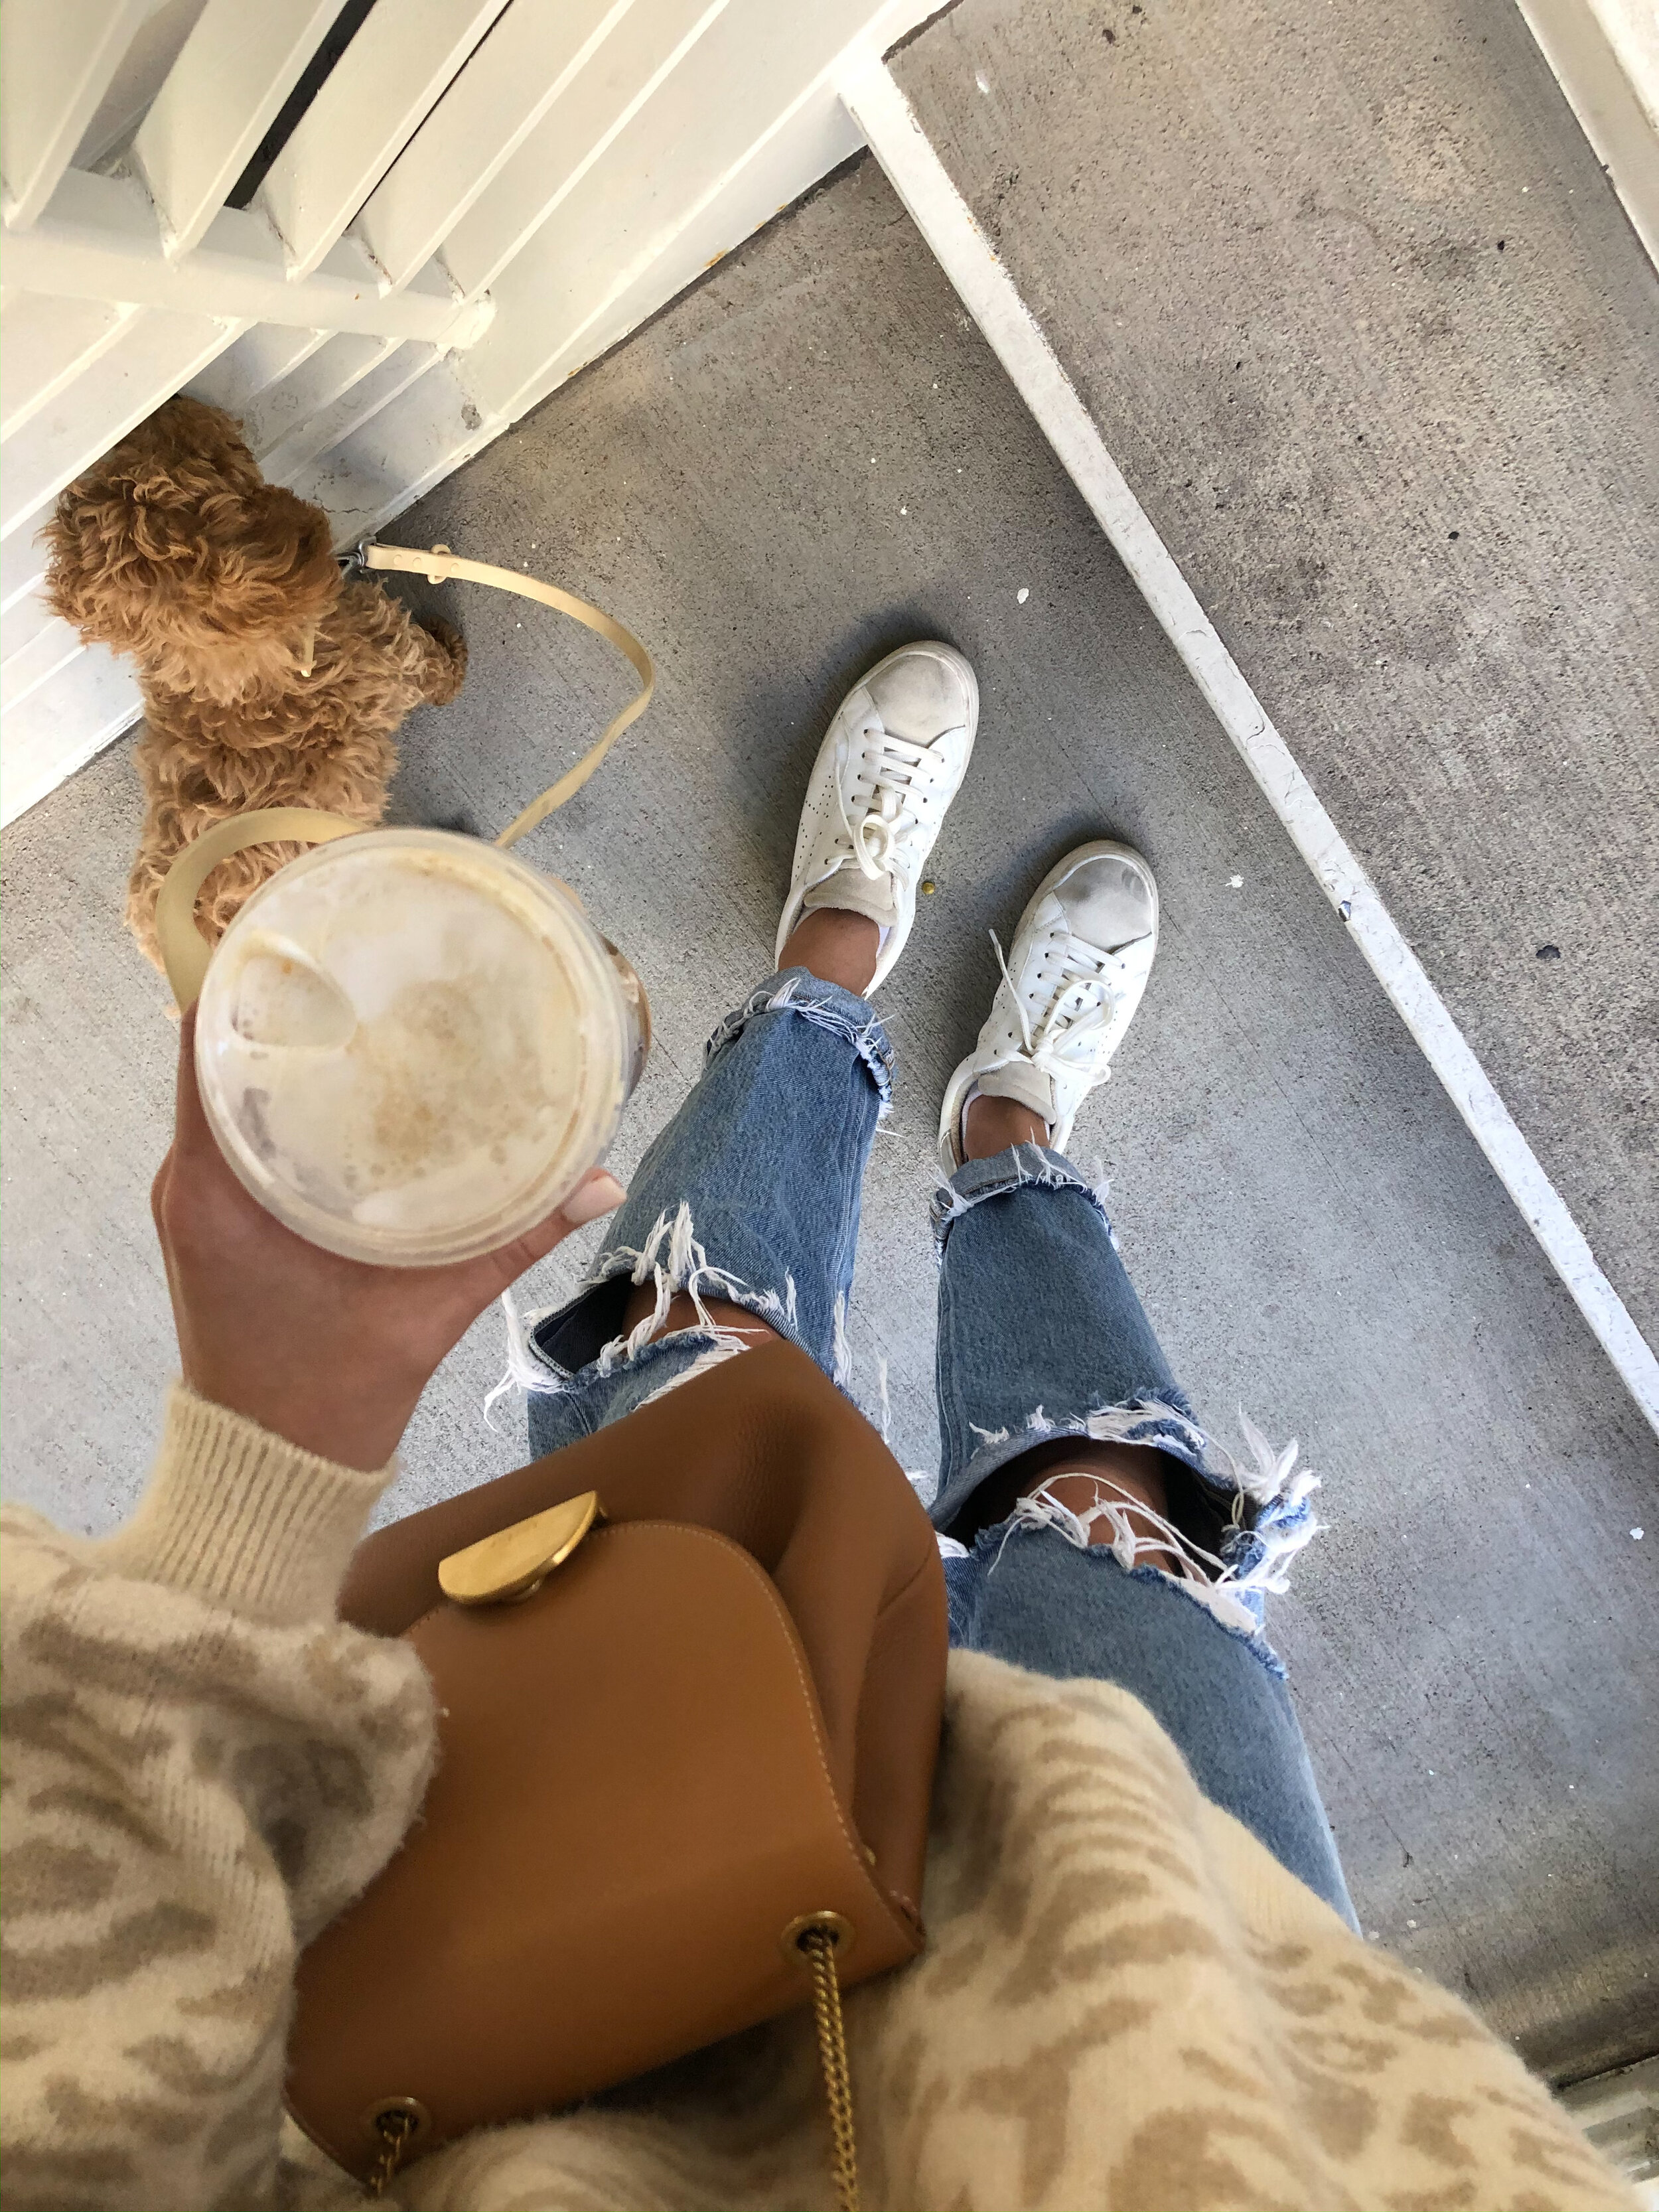
nicole 6 - creamy tones! This isn’t my usual preset, BUT it is different and I wanted to throw something different in there just in case I had a different lighting situation. Again, this is a one click edit no additional tweaks. If I was to use the preset on this photo, I would bring the brightness up to get it a little brighter and to match my feed aesthetic. :)
nicole 7 - this preset is set apart because it has a touch of warmth! Love to use this one on my photos that are “bluer” or have a cooler tint naturally, because it brightens them up a bit and evens out the colors on my feed!
Most phones will allow you to download the presets directly, but some customers may need to use a computer to download the files.
HOW TO DOWNLOAD AND INSTALL THE PRESETS
STEP 1: Download ZIP File
At the bottom of your order confirmation page, you’ll see a “Download: nicolepresets.zip” link. Tap this link and your phone will open a new page.
STEP 2: Open ZIP File
Tap “Open in Files”. Now tap “On My Phone” and then select any folder that appears below, or tap “iCloud Drive”. It doesn’t matter which method you choose. Next tap “Add” at the top right of the screen. This will bring you to a new screen. Tap “preview content” towards the bottom.
STEP 3: Save Image Files
You will now see a screen that says “Nicole 1 Adobe raw image”. The top of the screen will say “1 of 6”. Tap the box with the arrow in it at the bottom left of the screen and then tap “save image”. Now swipe left and your screen will say “Nicole 2 Adobe raw image”. Tap the box with the arrow in it at the bottom left of the screen and then tap “save image”. Do these same steps with all 6 images.
*If the previous steps don’t work for your phone, then you will need to download the file to a computer first. Once you’ve downloaded the ZIP file, double-click to unzip it. That should create a folder of the same name with the DNG image files inside. Each DNG file is a preset that you now need to move to your phone. The easiest way to do this is by using AirDrop but you can use any other file transferring method such as iMessage, email, etc.
STEP 4: Import the files into the Lightroom app.
At this point you should have all of your DNG files saved to your phone. If you go into your photo stream and see them as blank picture files, don’t be alarmed – that’s how they should look.
Open the Lightroom app and create a new album. We’ll name it Nicole Presets. Then open the new album, go to Add Photos and select all the DNG files from your camera roll and add them to the album.
STEP 5: Create and save your Presets. Go into the album containing your newly imported DNG files. Open the first file, tap on the 3 dots icon at the top right of the screen and then tap on Create Preset.
Next you will see the ‘new preset’ screen which contains all the options you can use to customize your preset. You can give your preset a name (Nicole 1, Nicole 2, etc.) and the option to choose a Preset Group to save it in. You can create a new preset group and name it Nicole Presets. This is a great way to keep them organized. The checkboxes determine which picture settings you’d like to save with this preset. Only the settings you choose here will be applied to the pictures you edit with this preset in the future.
Tools, Optics, and Geometry will all be unchecked. The presets do not have any info within those settings so you can leave those boxes unchecked.
When you’re done with the settings save your preset by tapping on the checkmark icon at the top right corner.
Repeat this step for each DNG file as you will need to save each preset separately. Don’t worry though, you only need to do this once!
STEP 6: Using the presets. To use your new presets just go back into your library and open any photo you’d like to edit.
Find the Presets icon in the menu at the bottom of the screen and tap on it. Make sure to select the preset group ‘Nicole Presets’.
Now you can edit the photo by tapping on a preset from the list and then tapping on the checkmark. You can still continue to edit the photo and make adjustments if you like, after you’ve applied the preset.